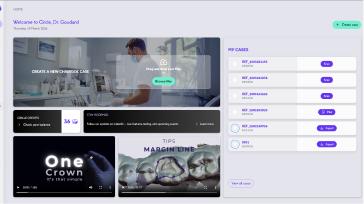
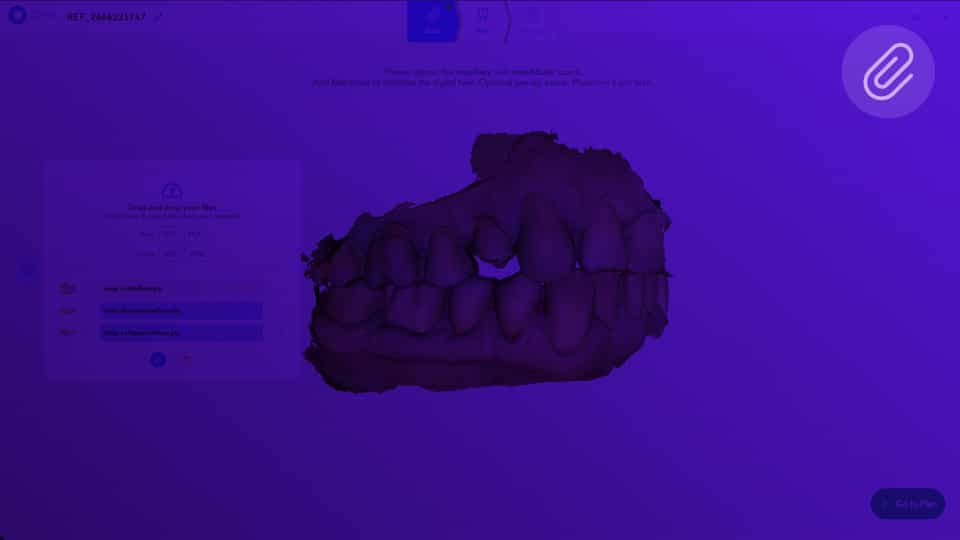
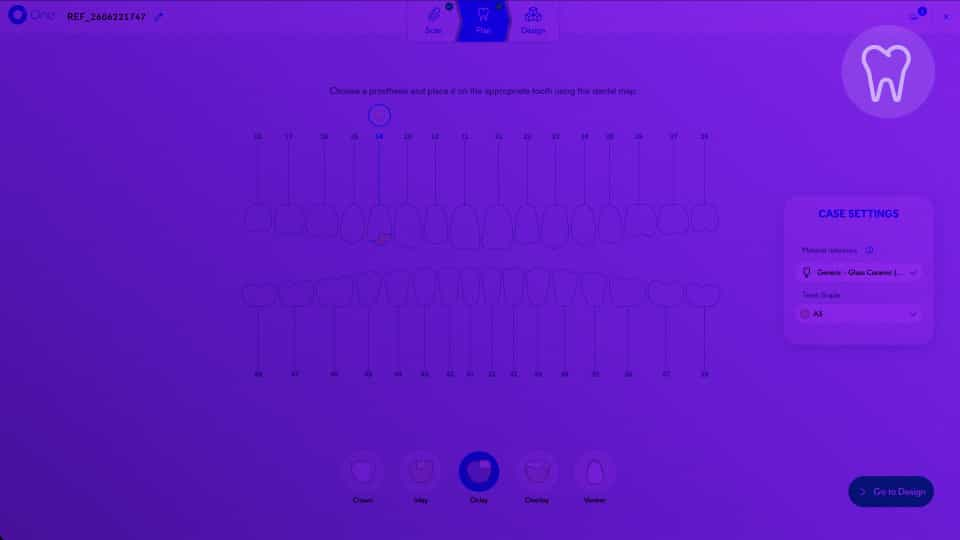
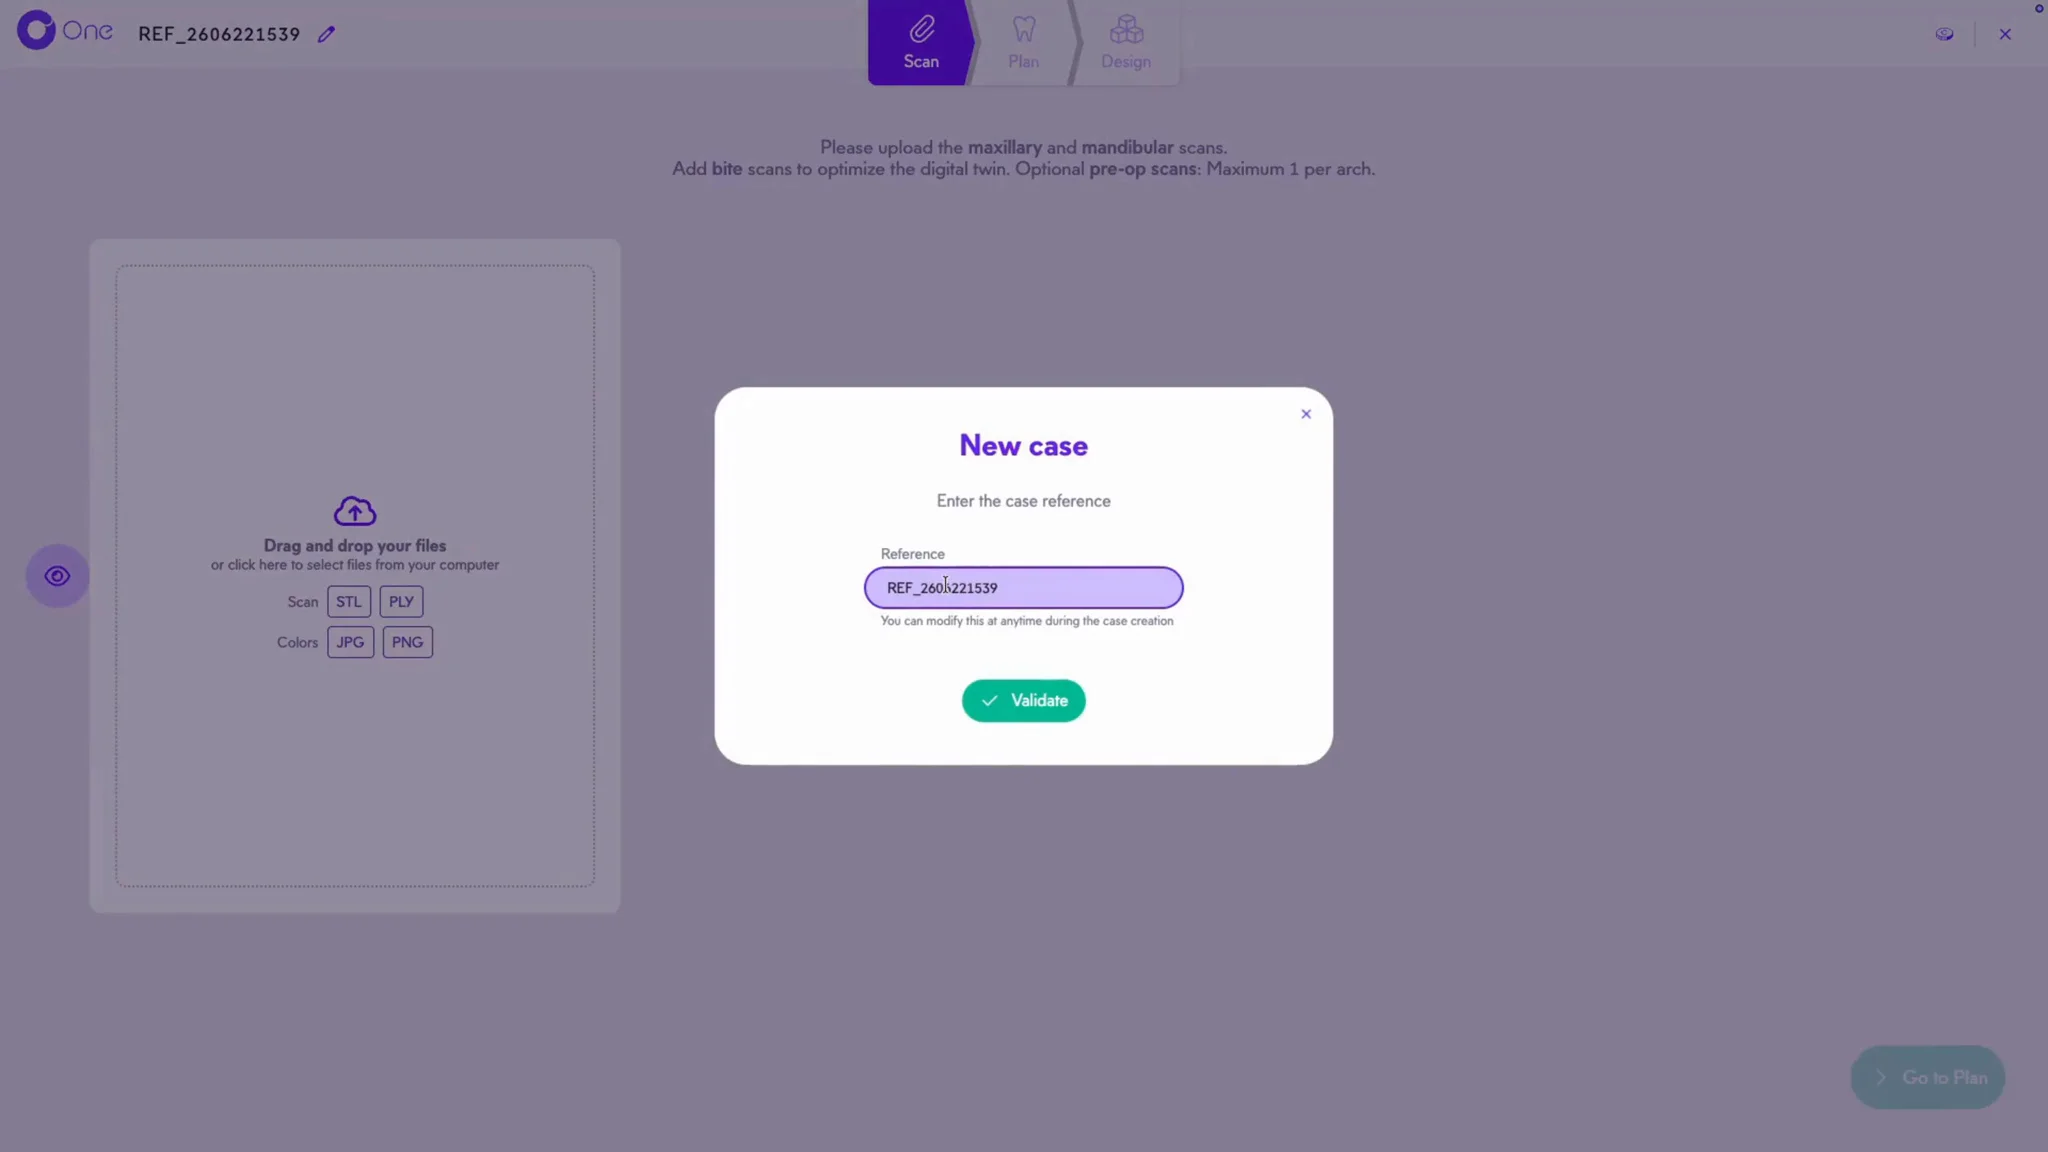
1. After an import from your scanner, your case opens automatically in Circle One. Edit the reference if needed, or keep the suggested one. Confirm to access the Scan step.
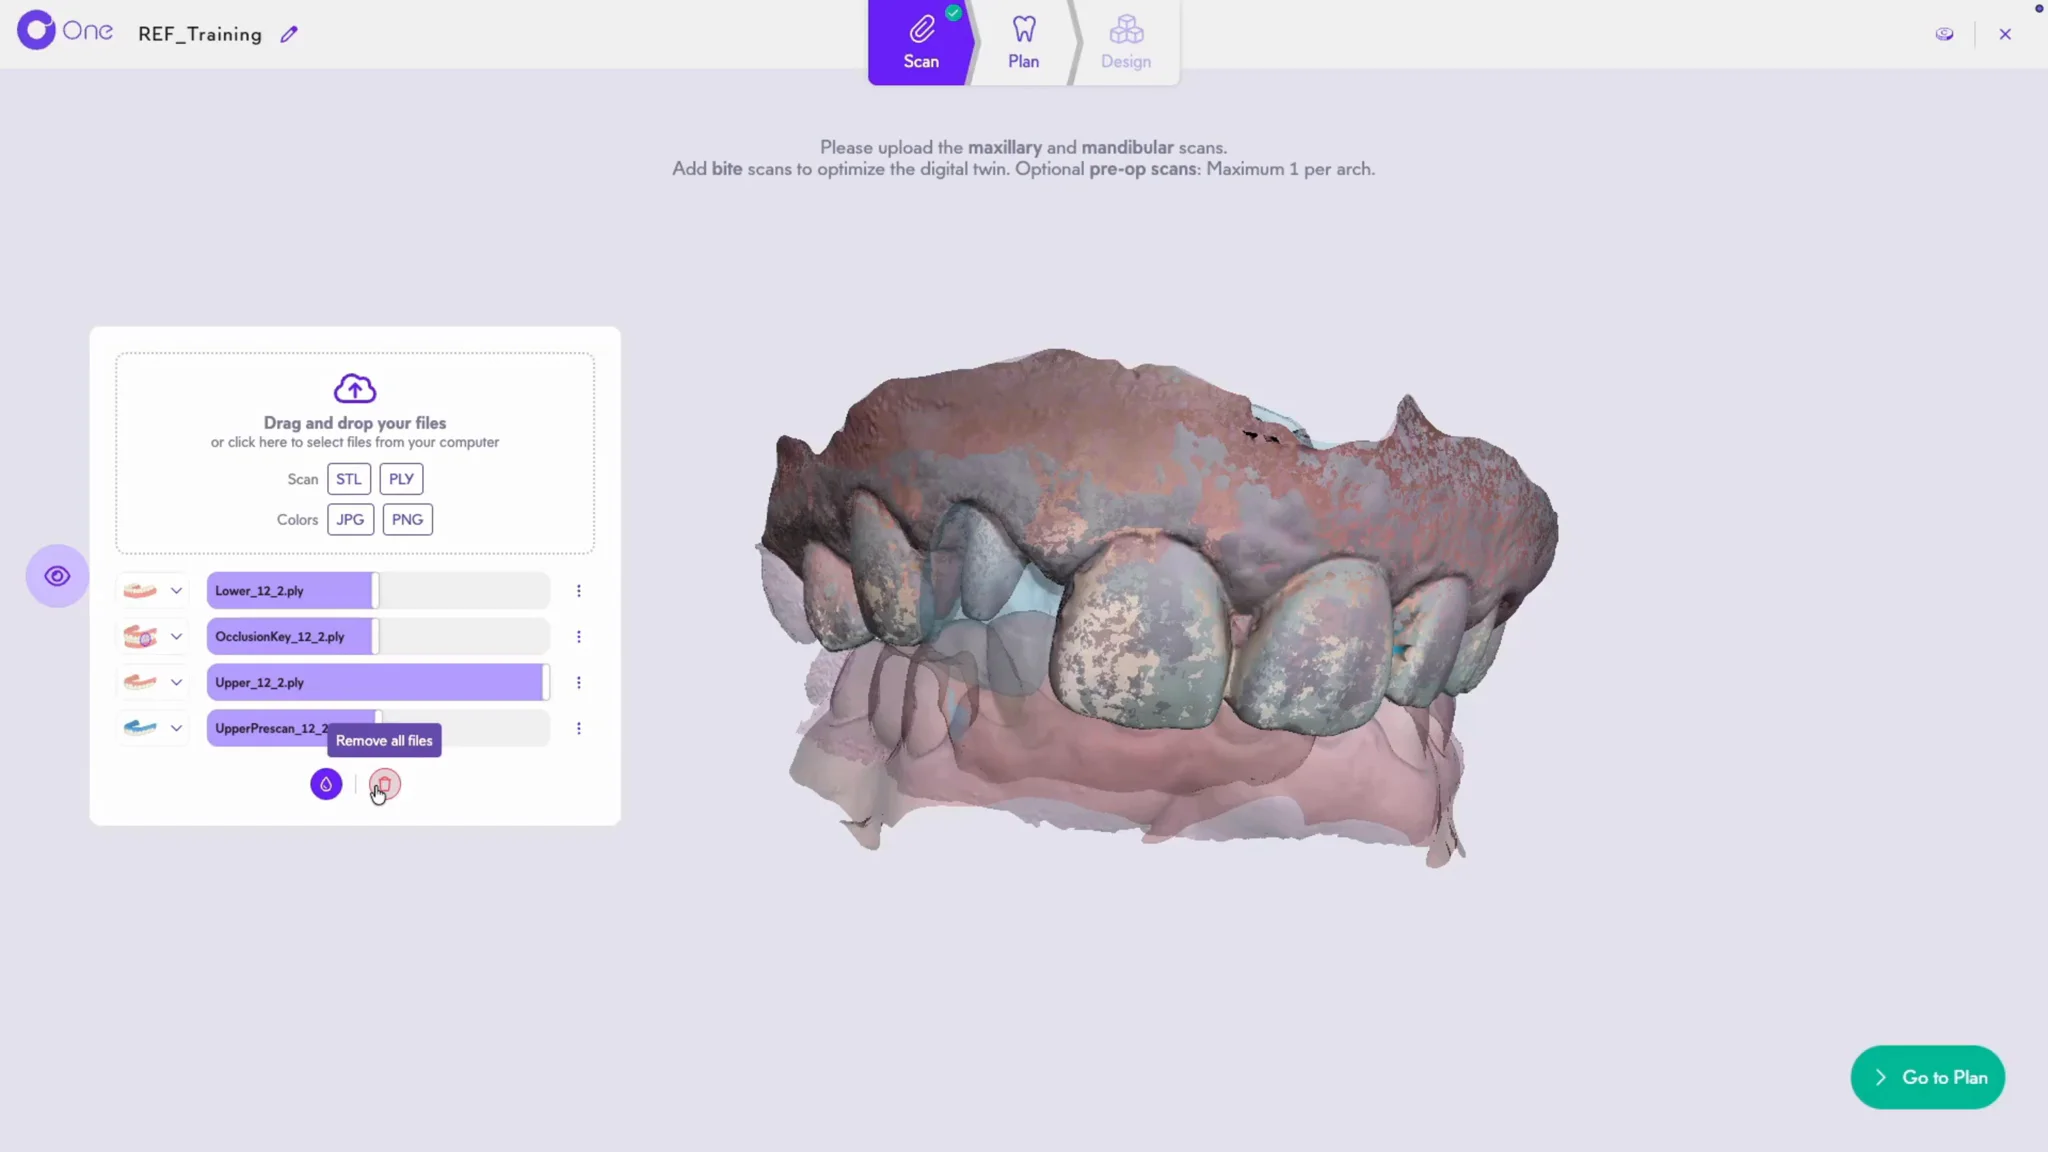
2. Use the built-in viewer to visualize your scans right away. Zoom and rotate the view to check your scans in real time.
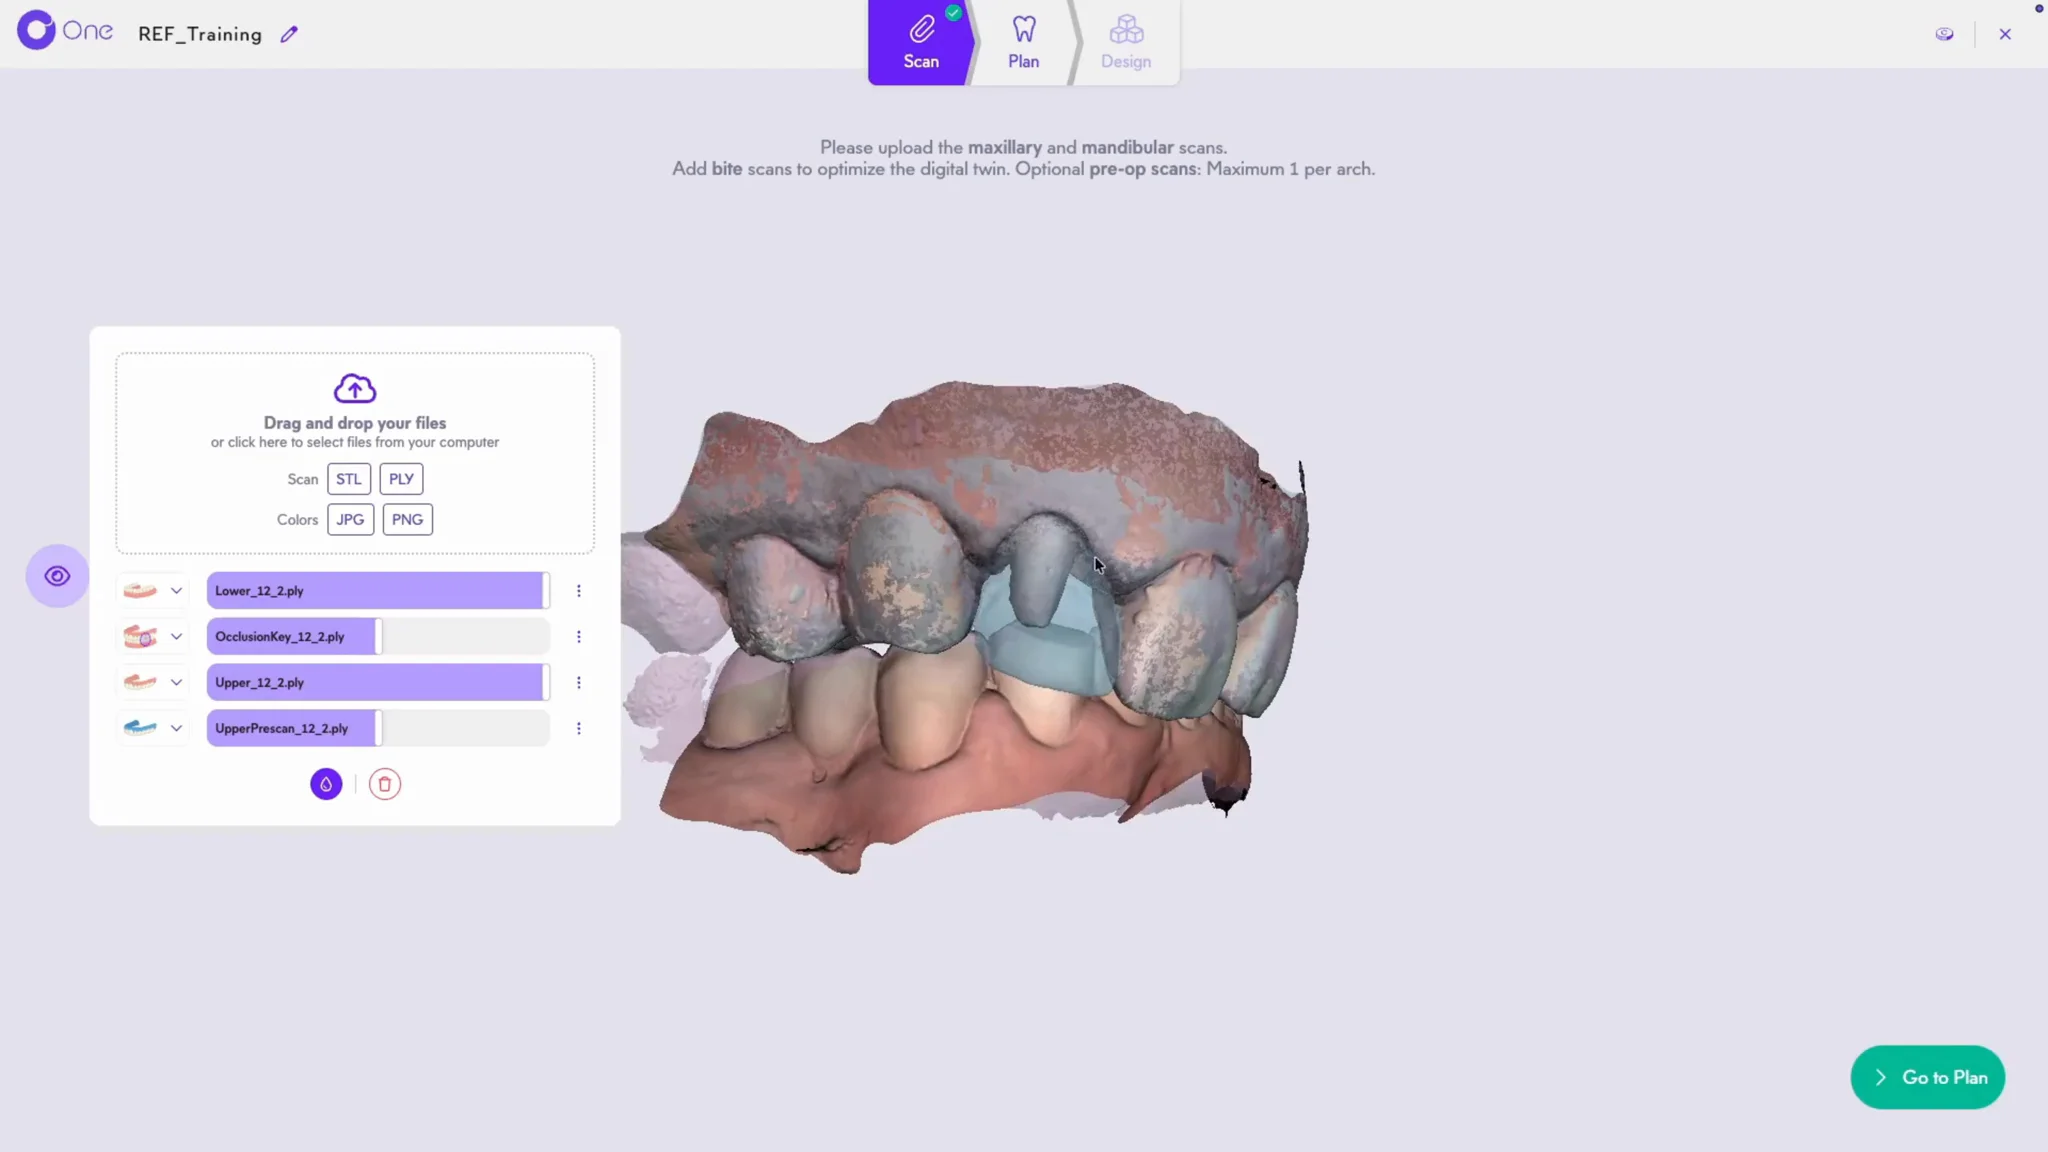
3. The panel on the left lets you adjust the transparency of each impression with the sliders, and view textures if available.
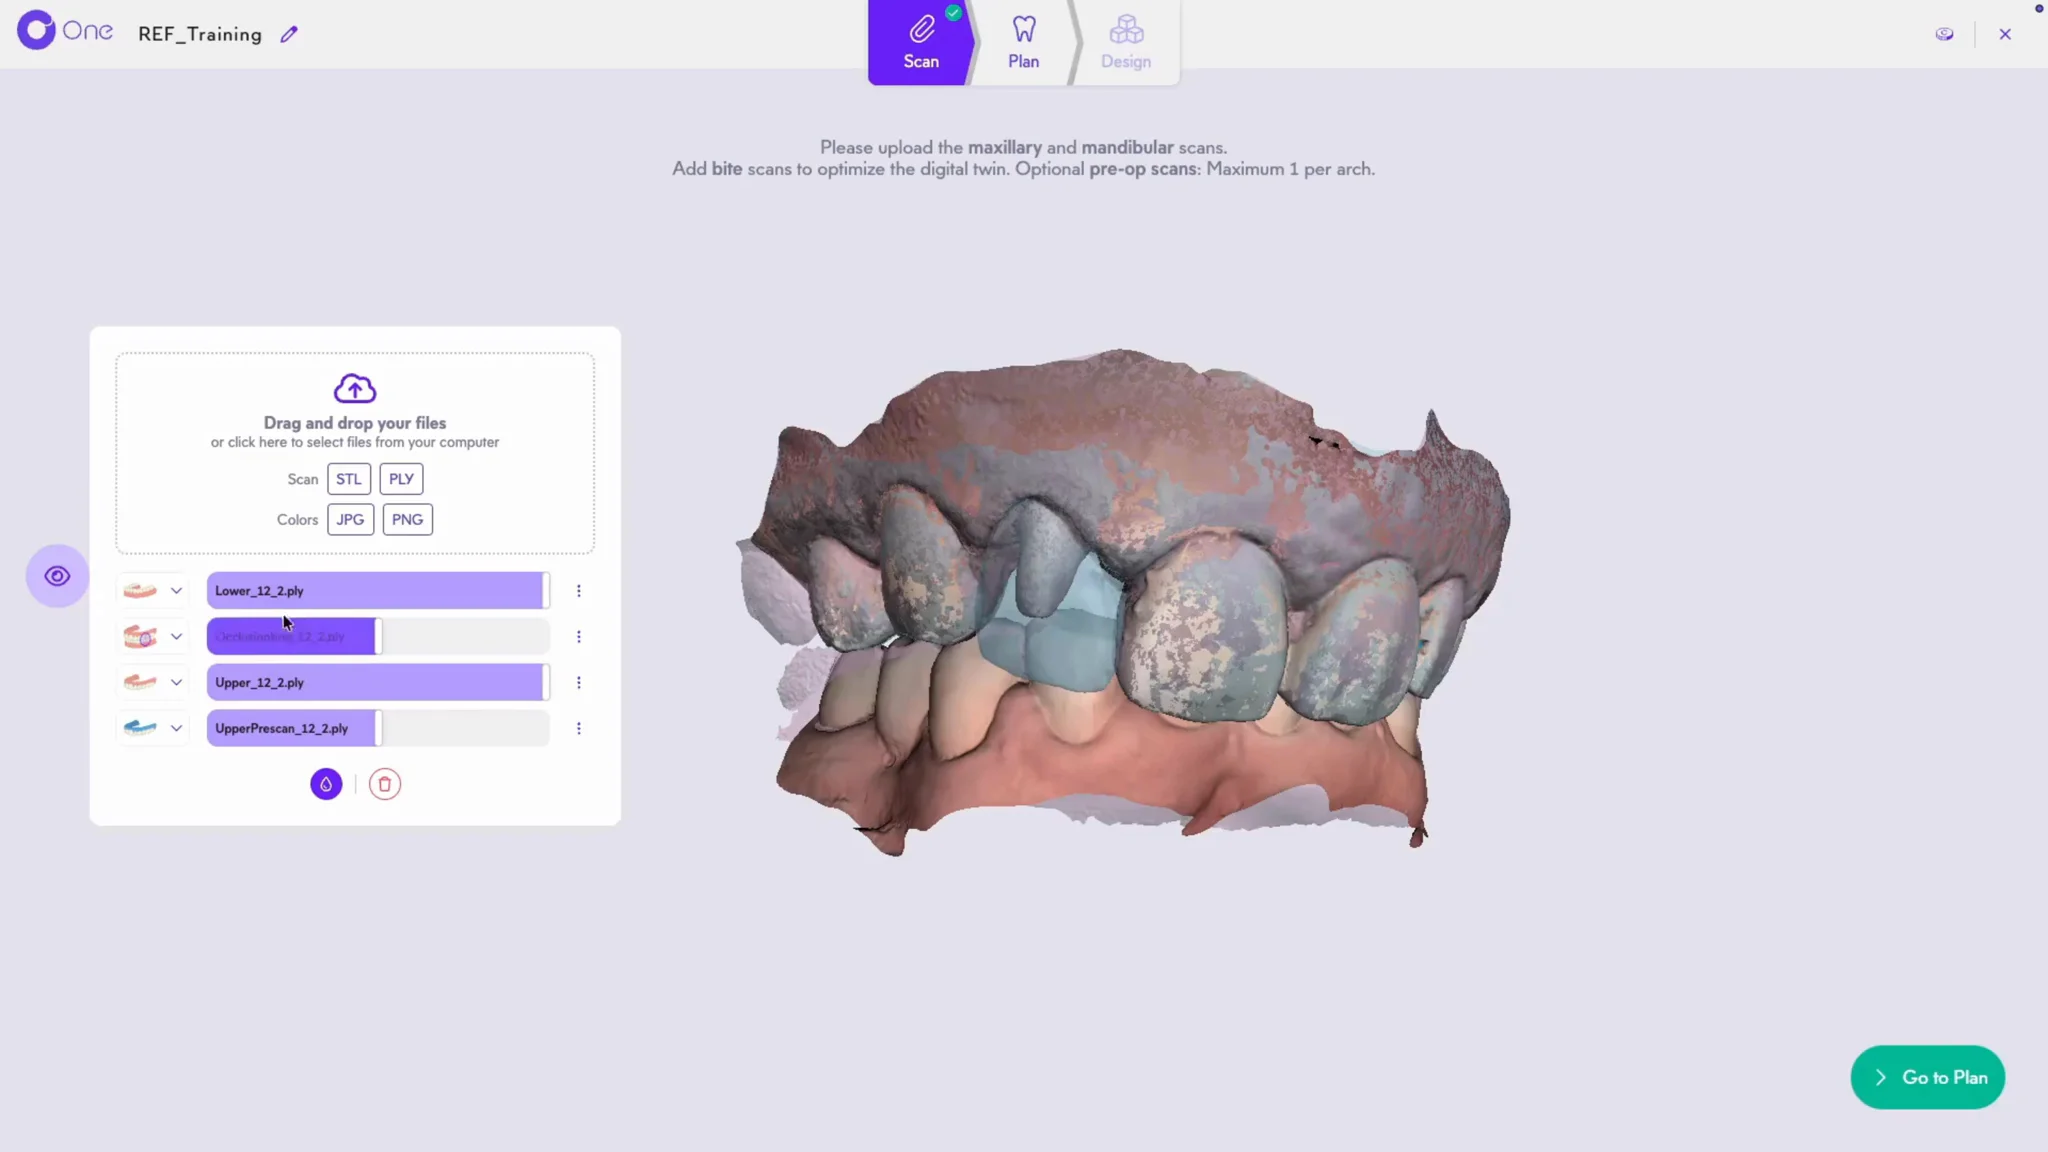
4. Each file is identifiable by its color — occlusion in pink, pre-op scans in blue.
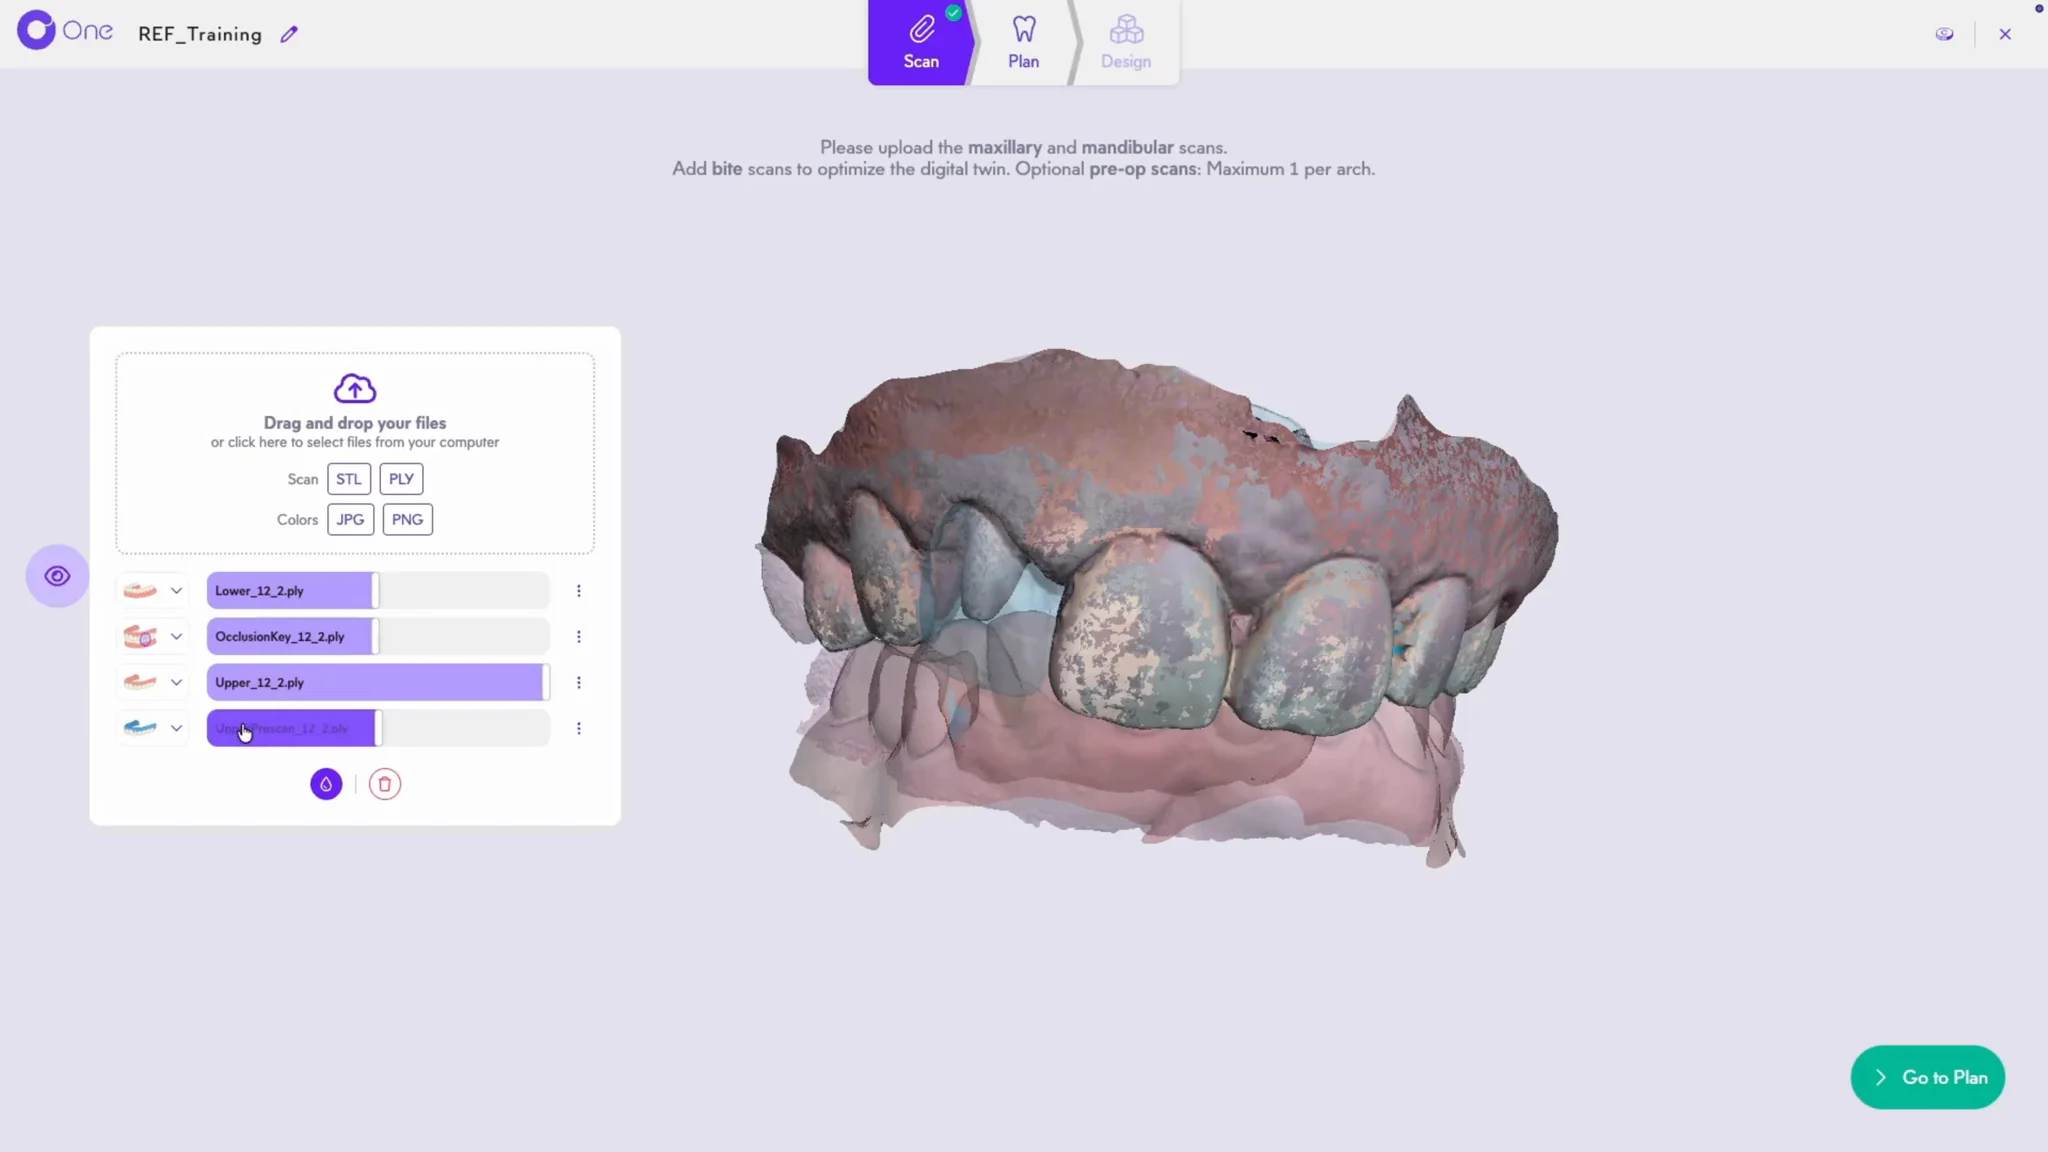
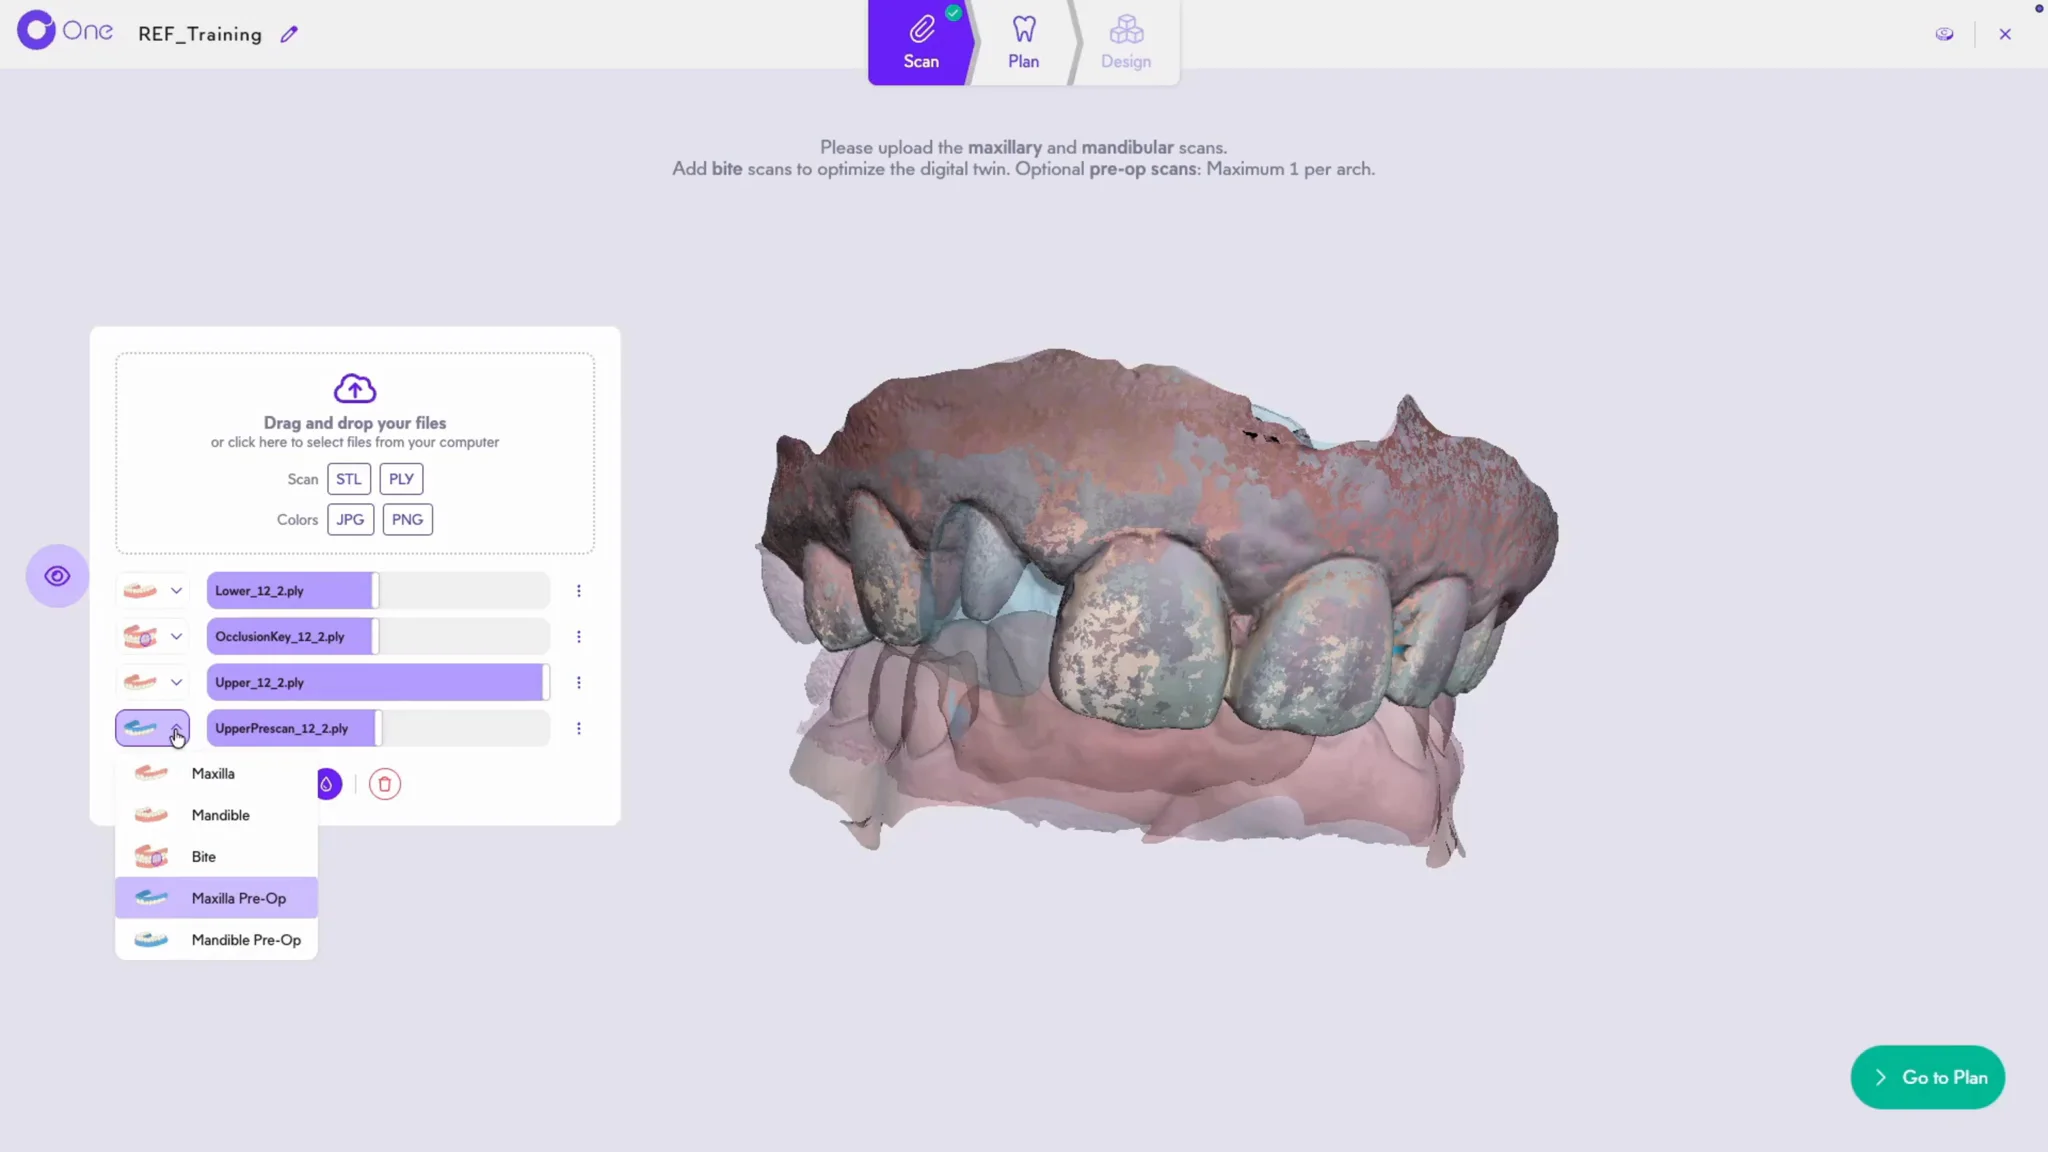
5. Files are labeled automatically. In case of a duplicate, an error appears — correct the label at any time via the dropdown menu.
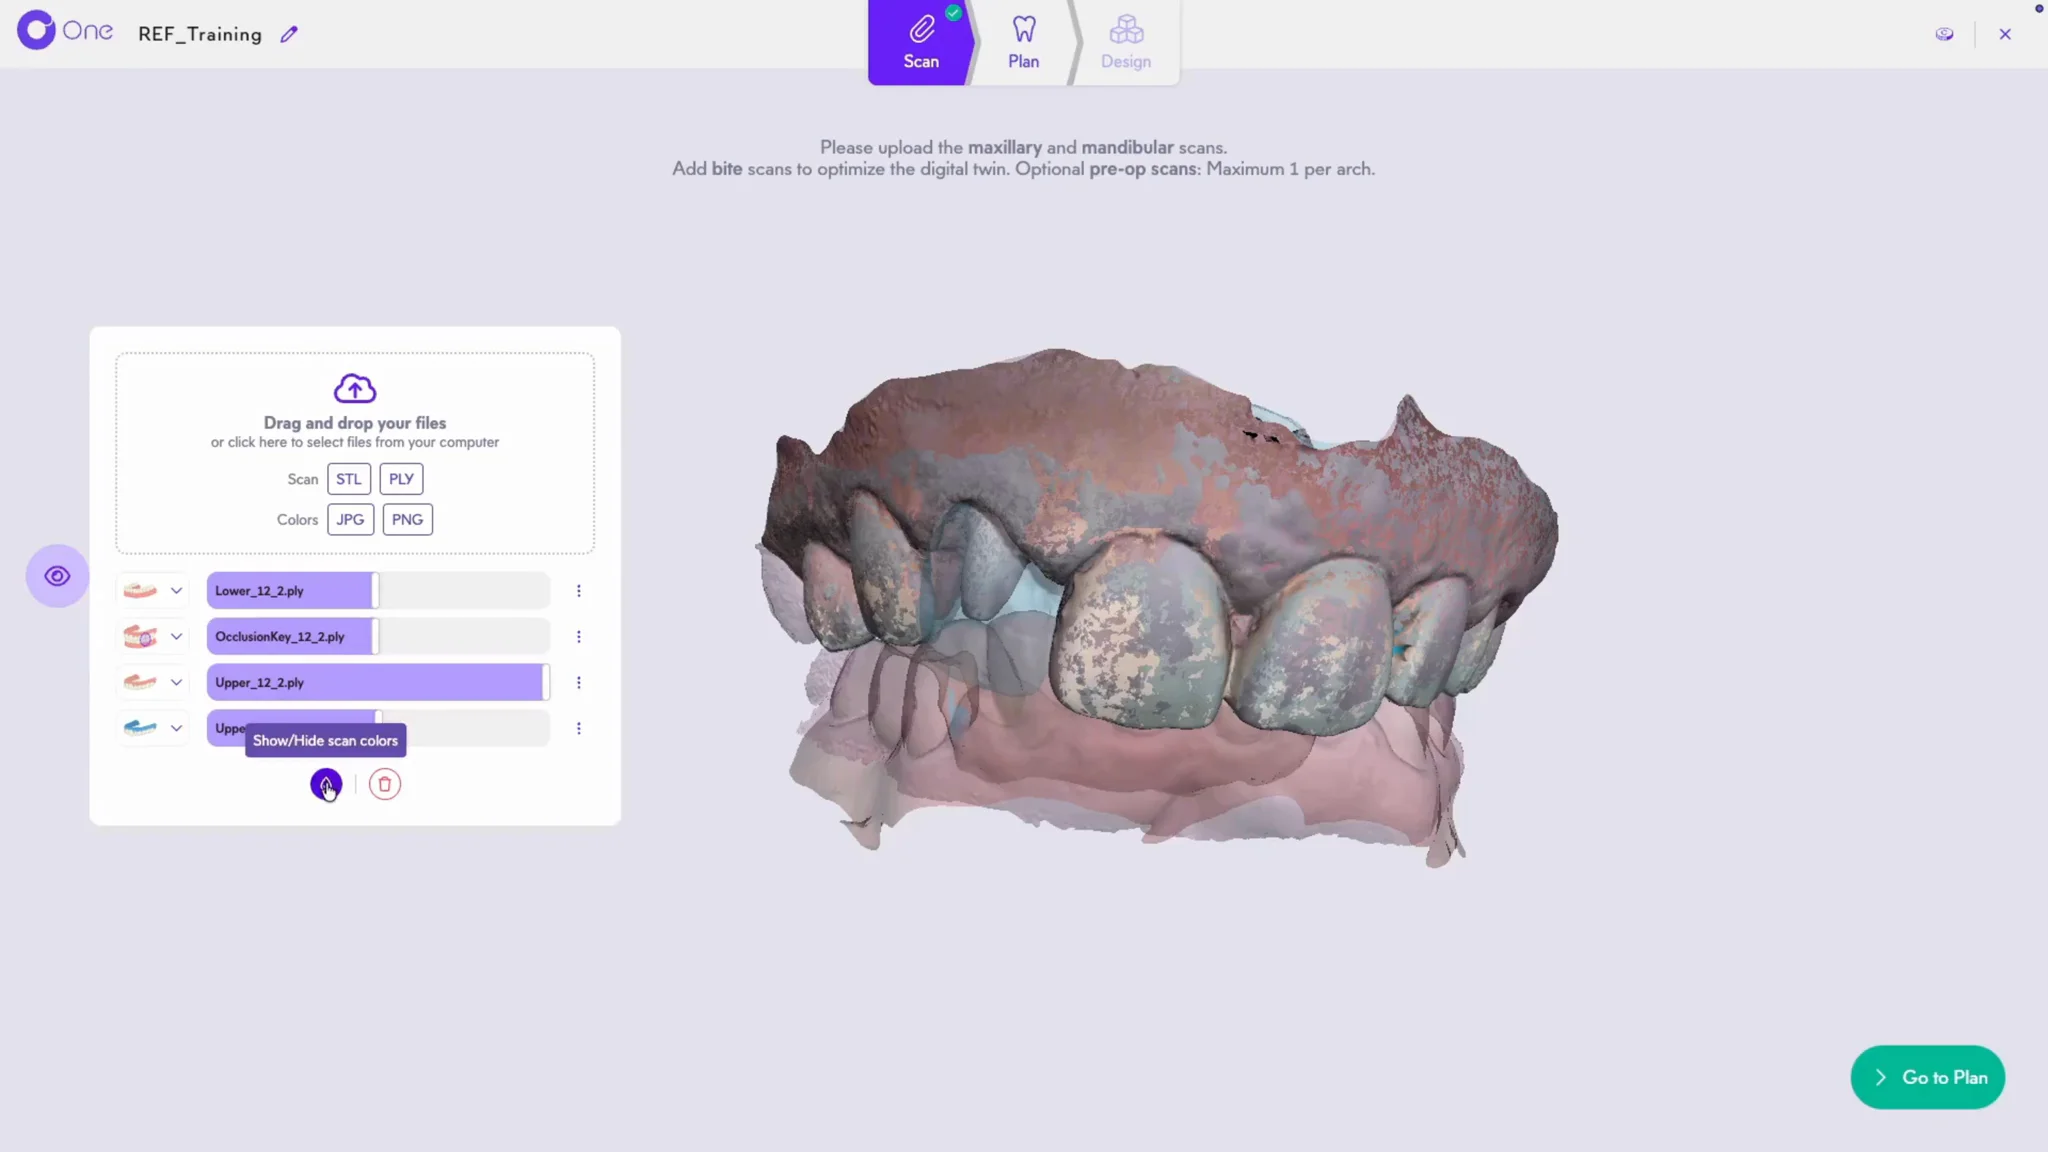
6. If you want to show or hide the color of your impressions, a button lets you toggle it in one click.
7. If you want to remove an impression, click the menu to its right to delete it.
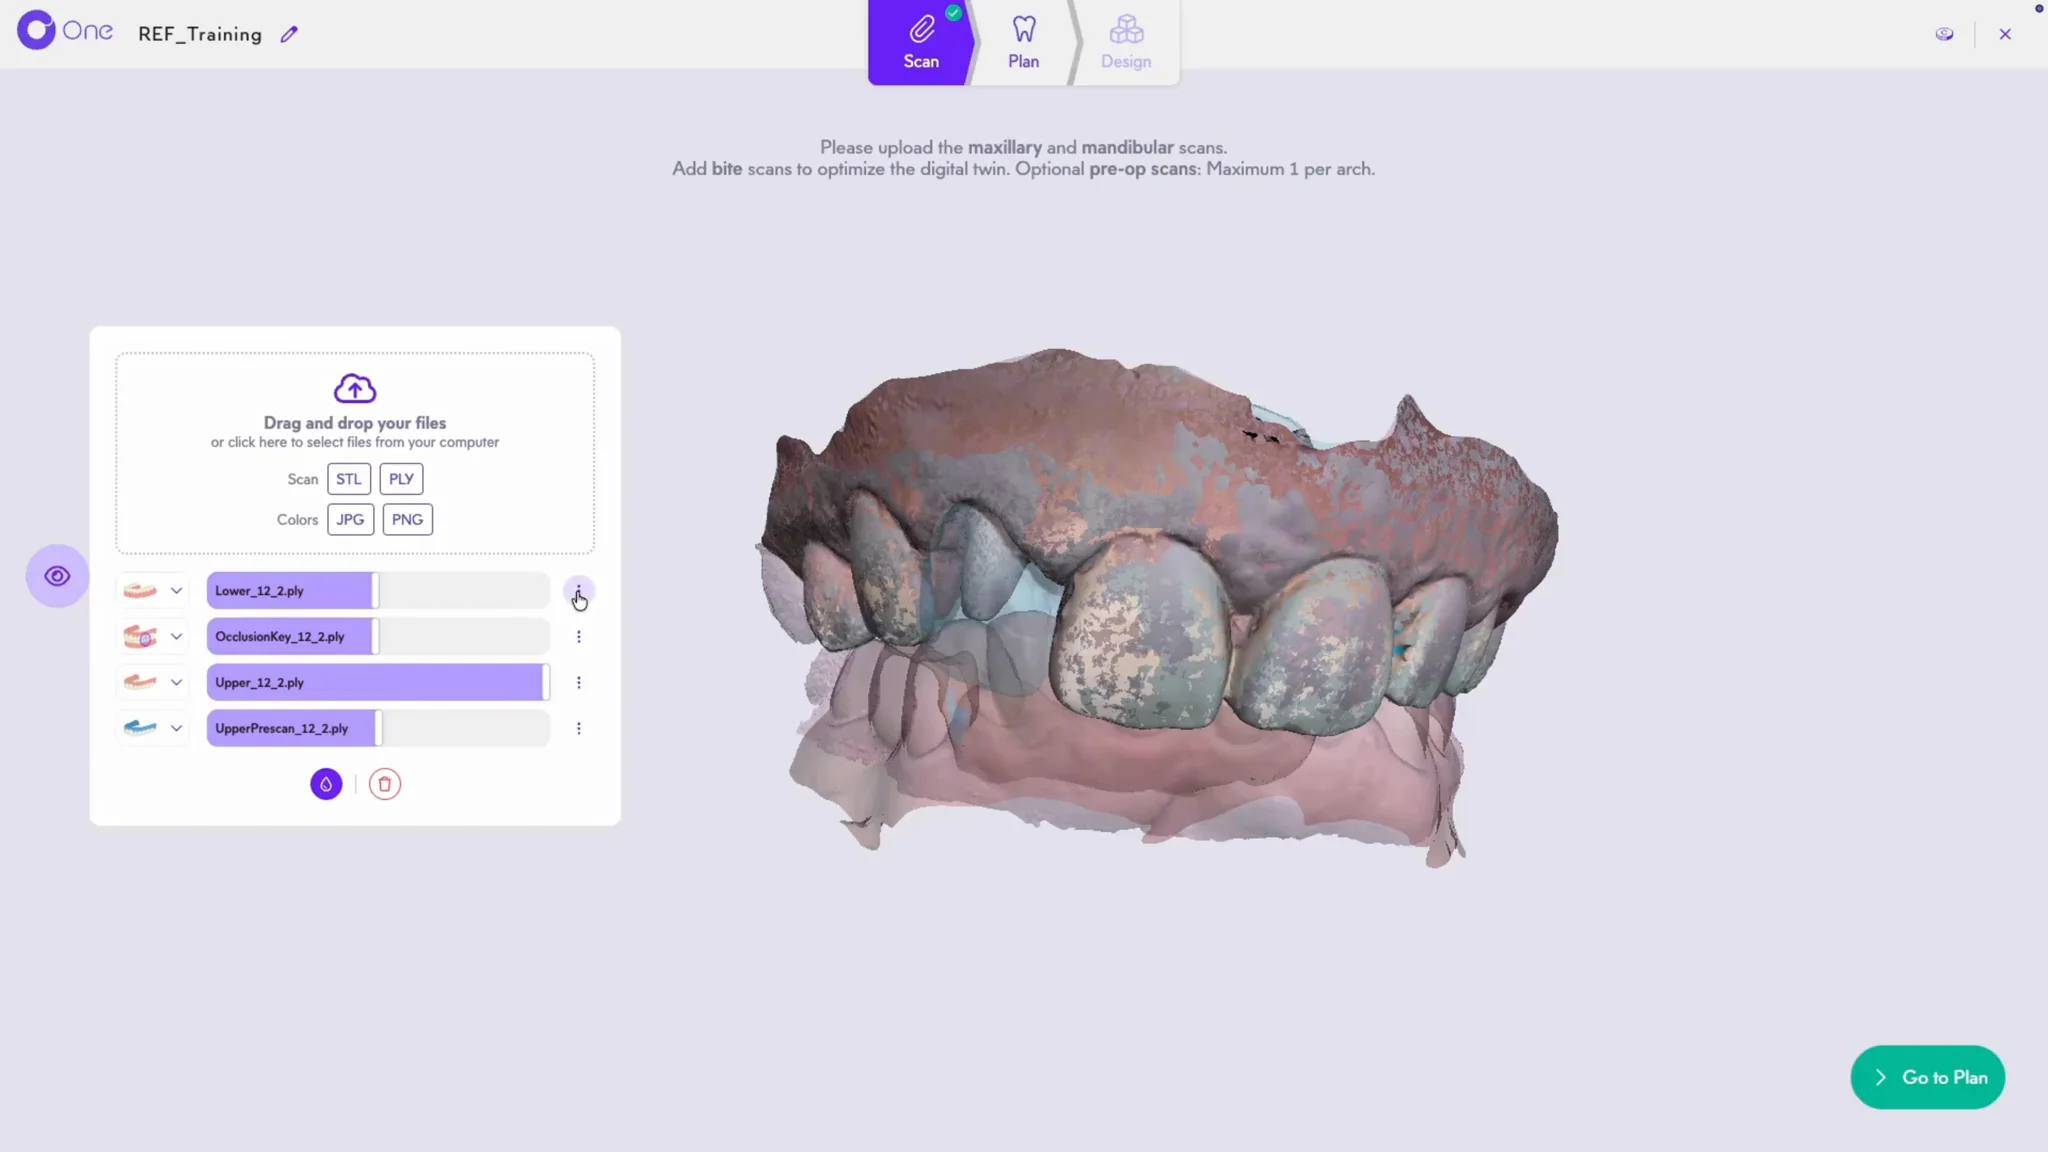
8. If you've added the wrong files, click the trash icon to delete them all.