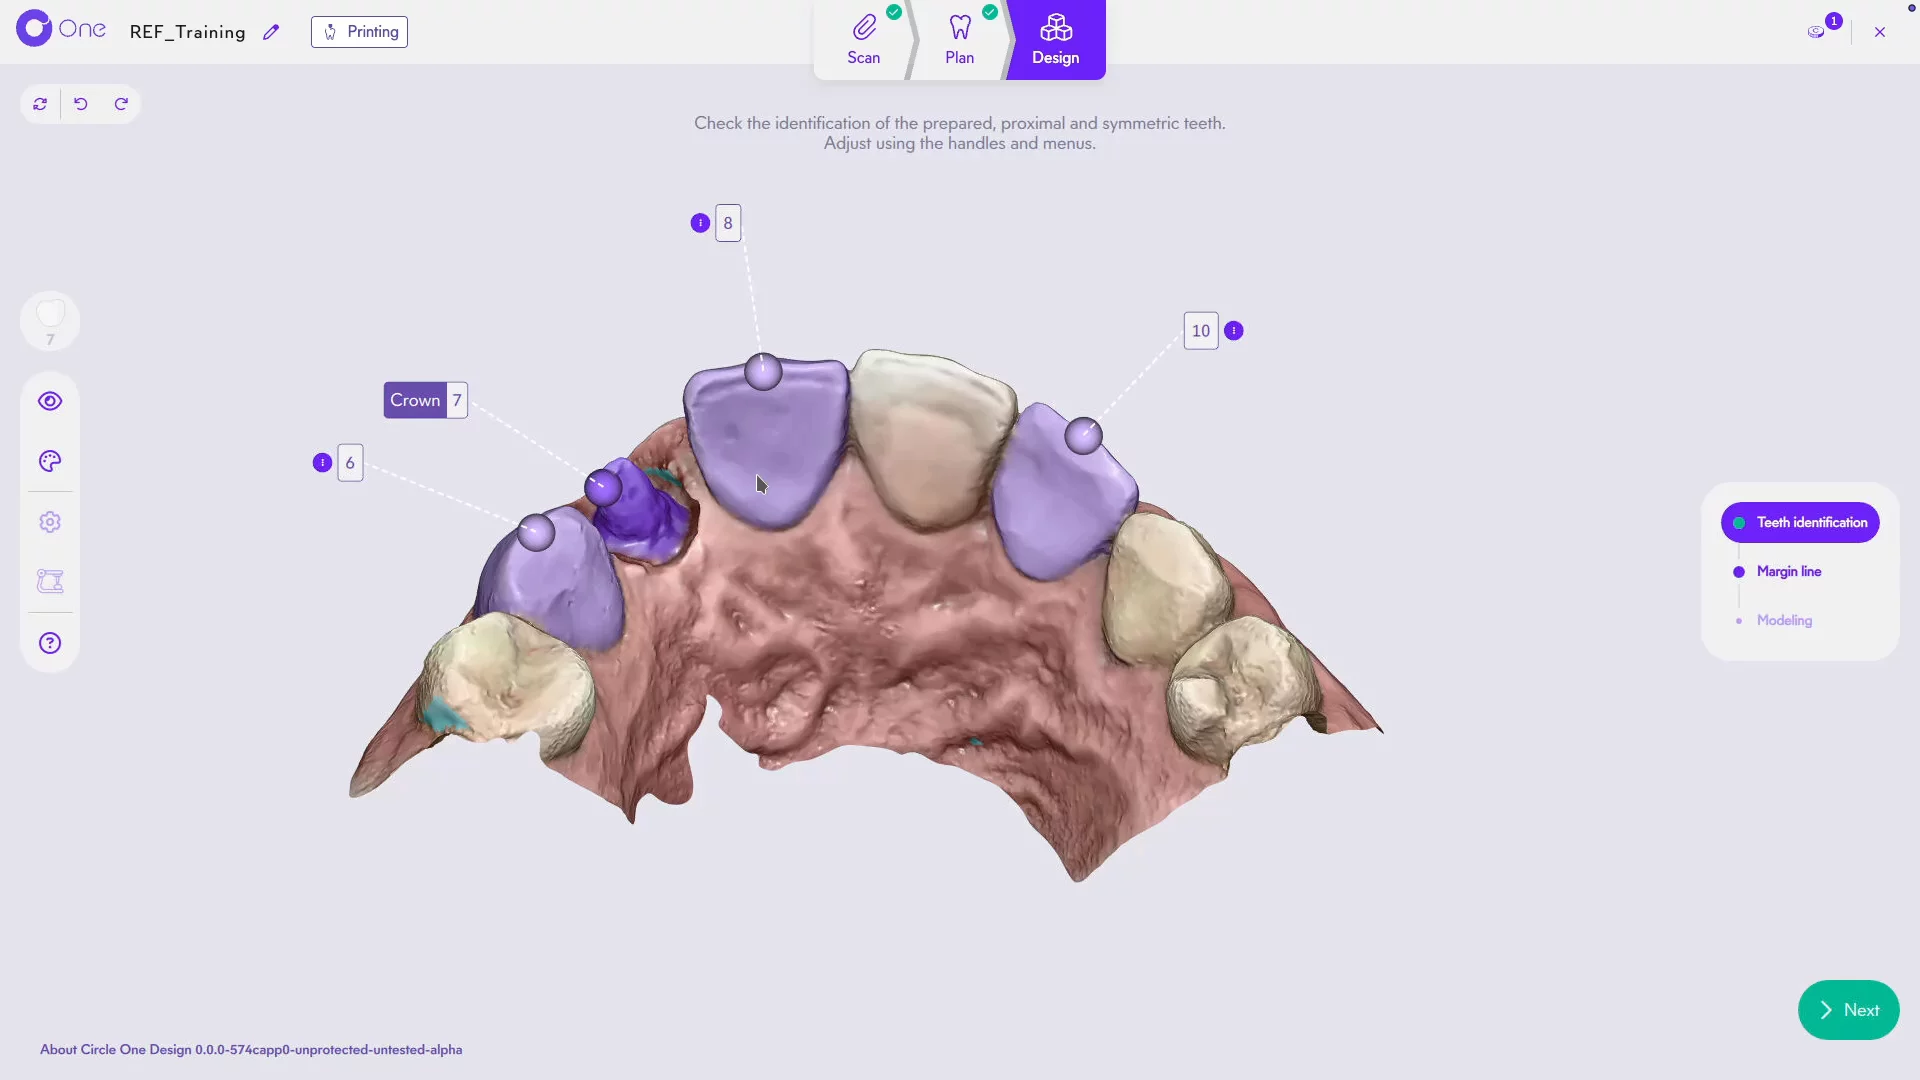
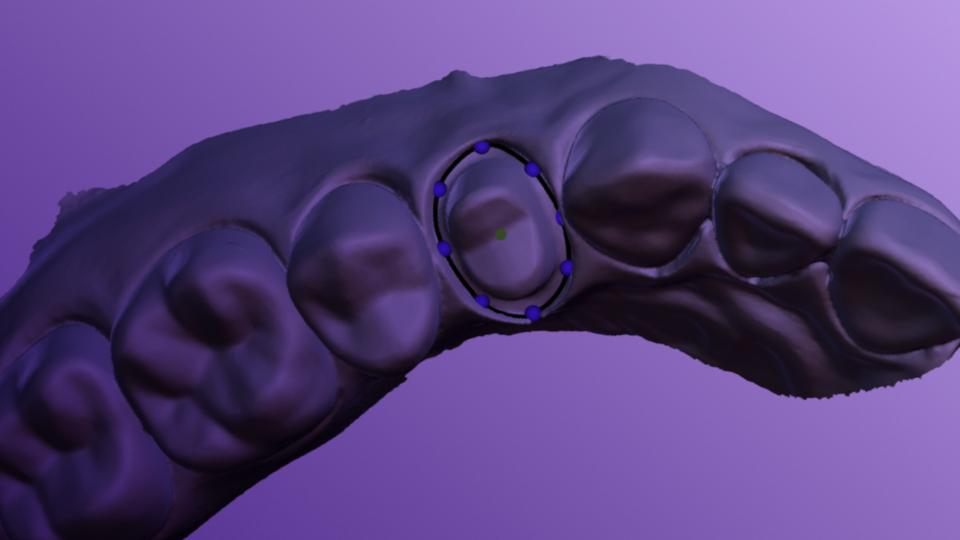
1. This step lets you check the tooth identification performed automatically by Circle One.
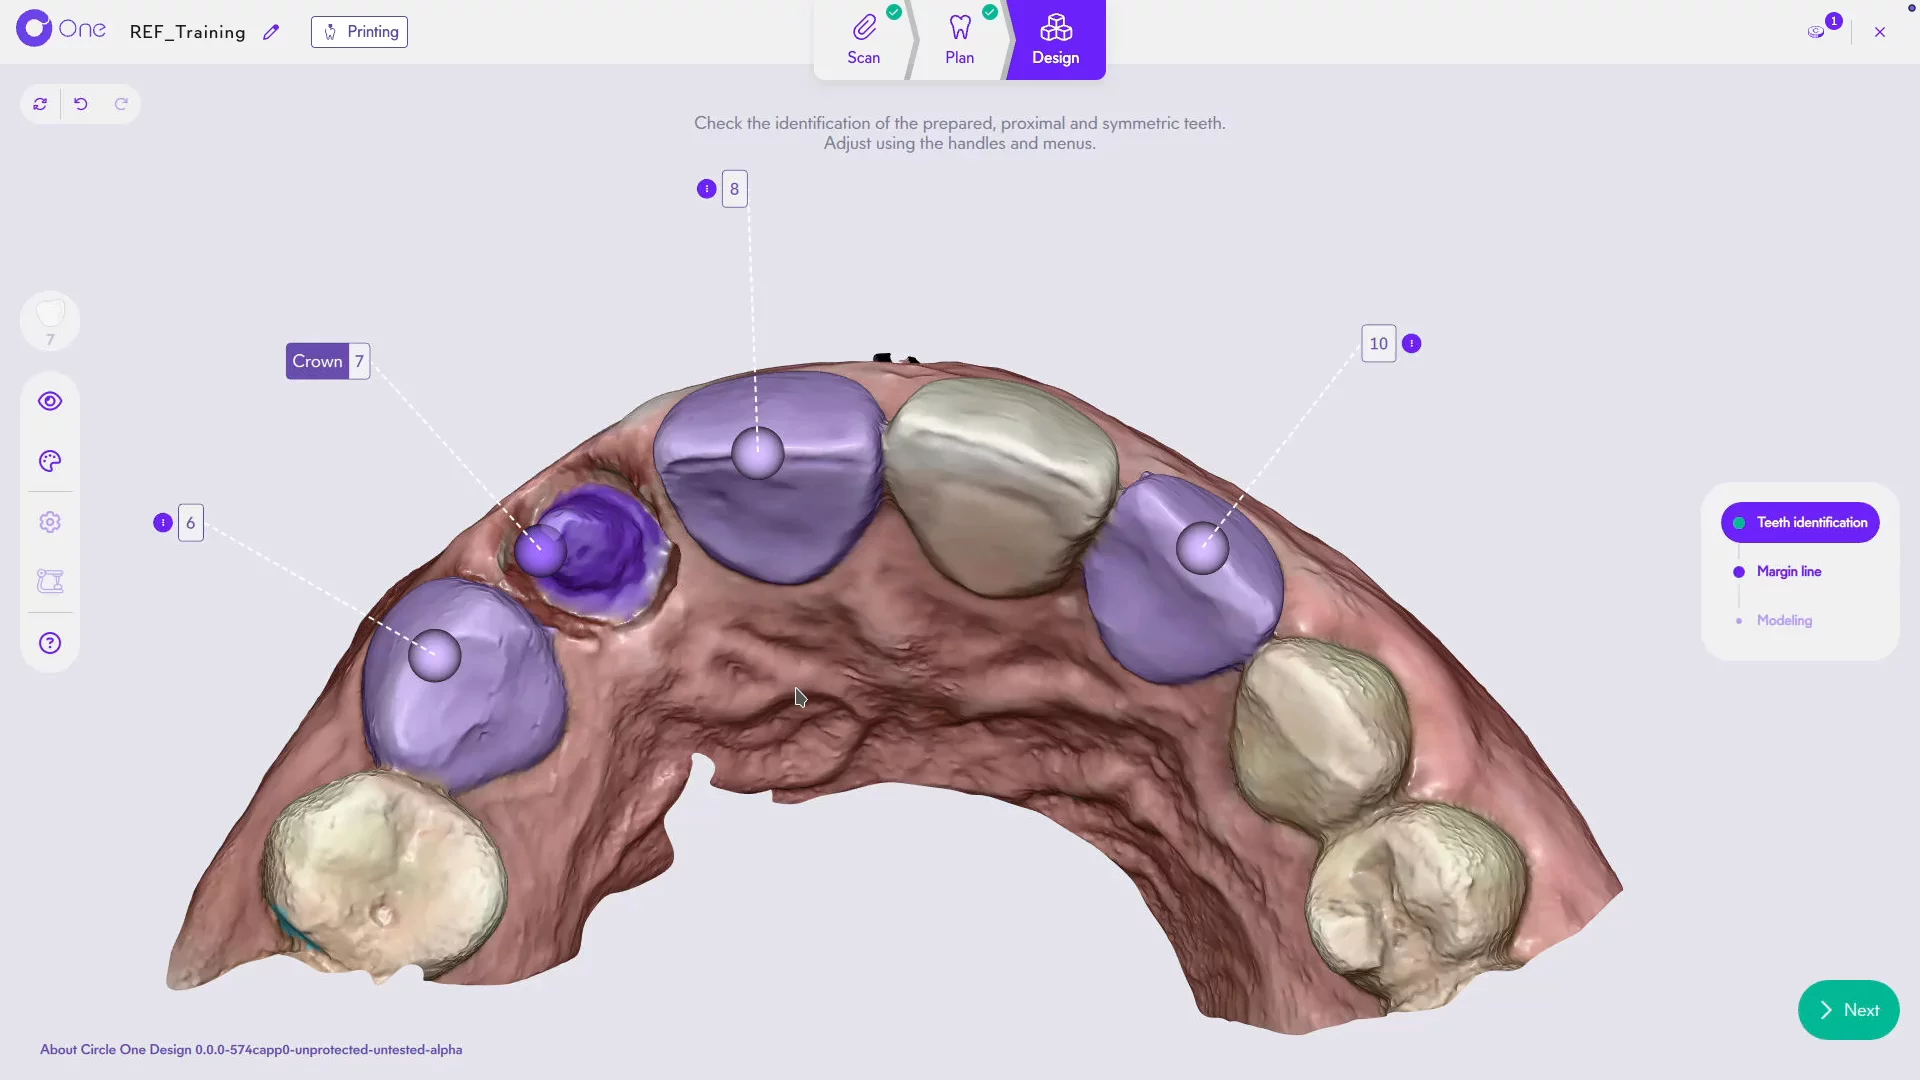
2. Detected teeth appear colored, with a label showing their number. The prepped tooth in purple, and in light purple the proximal teeth as well as the opposing tooth if present.
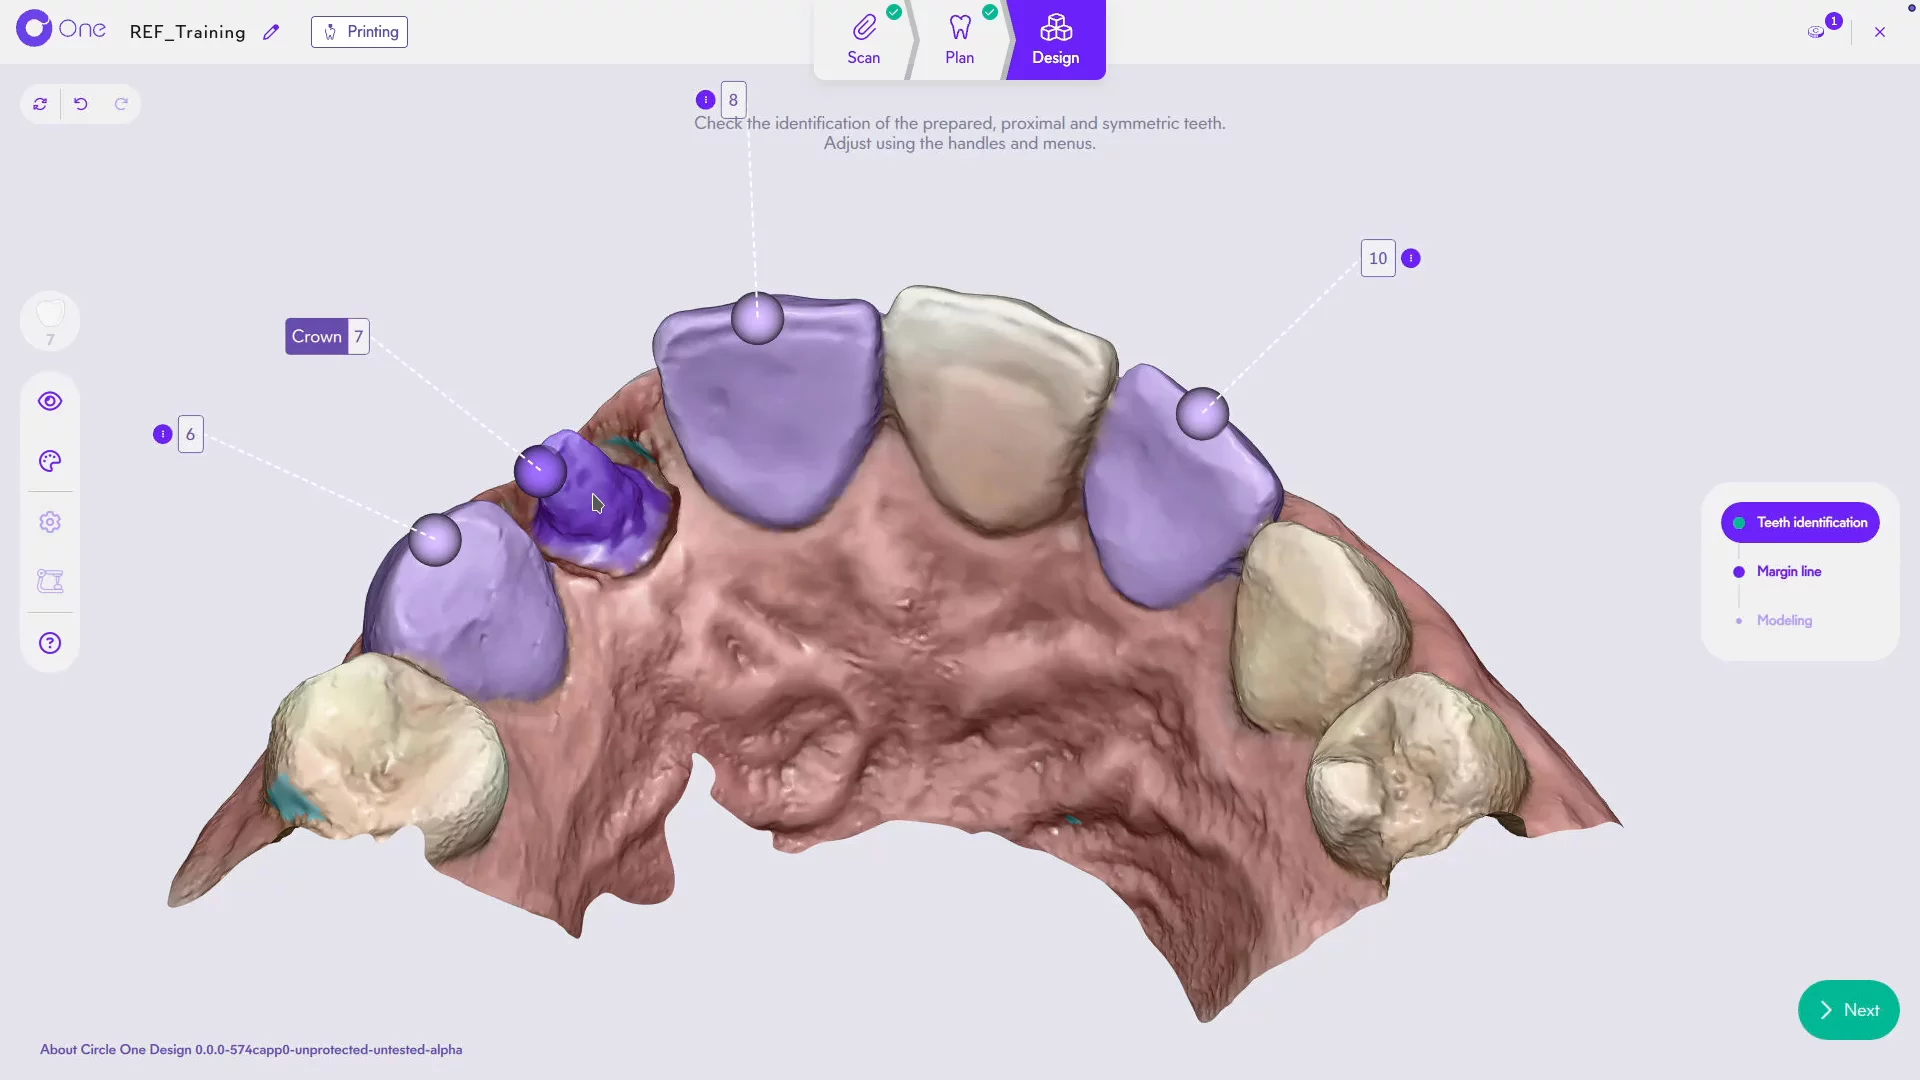
3. Take a moment to review everything.
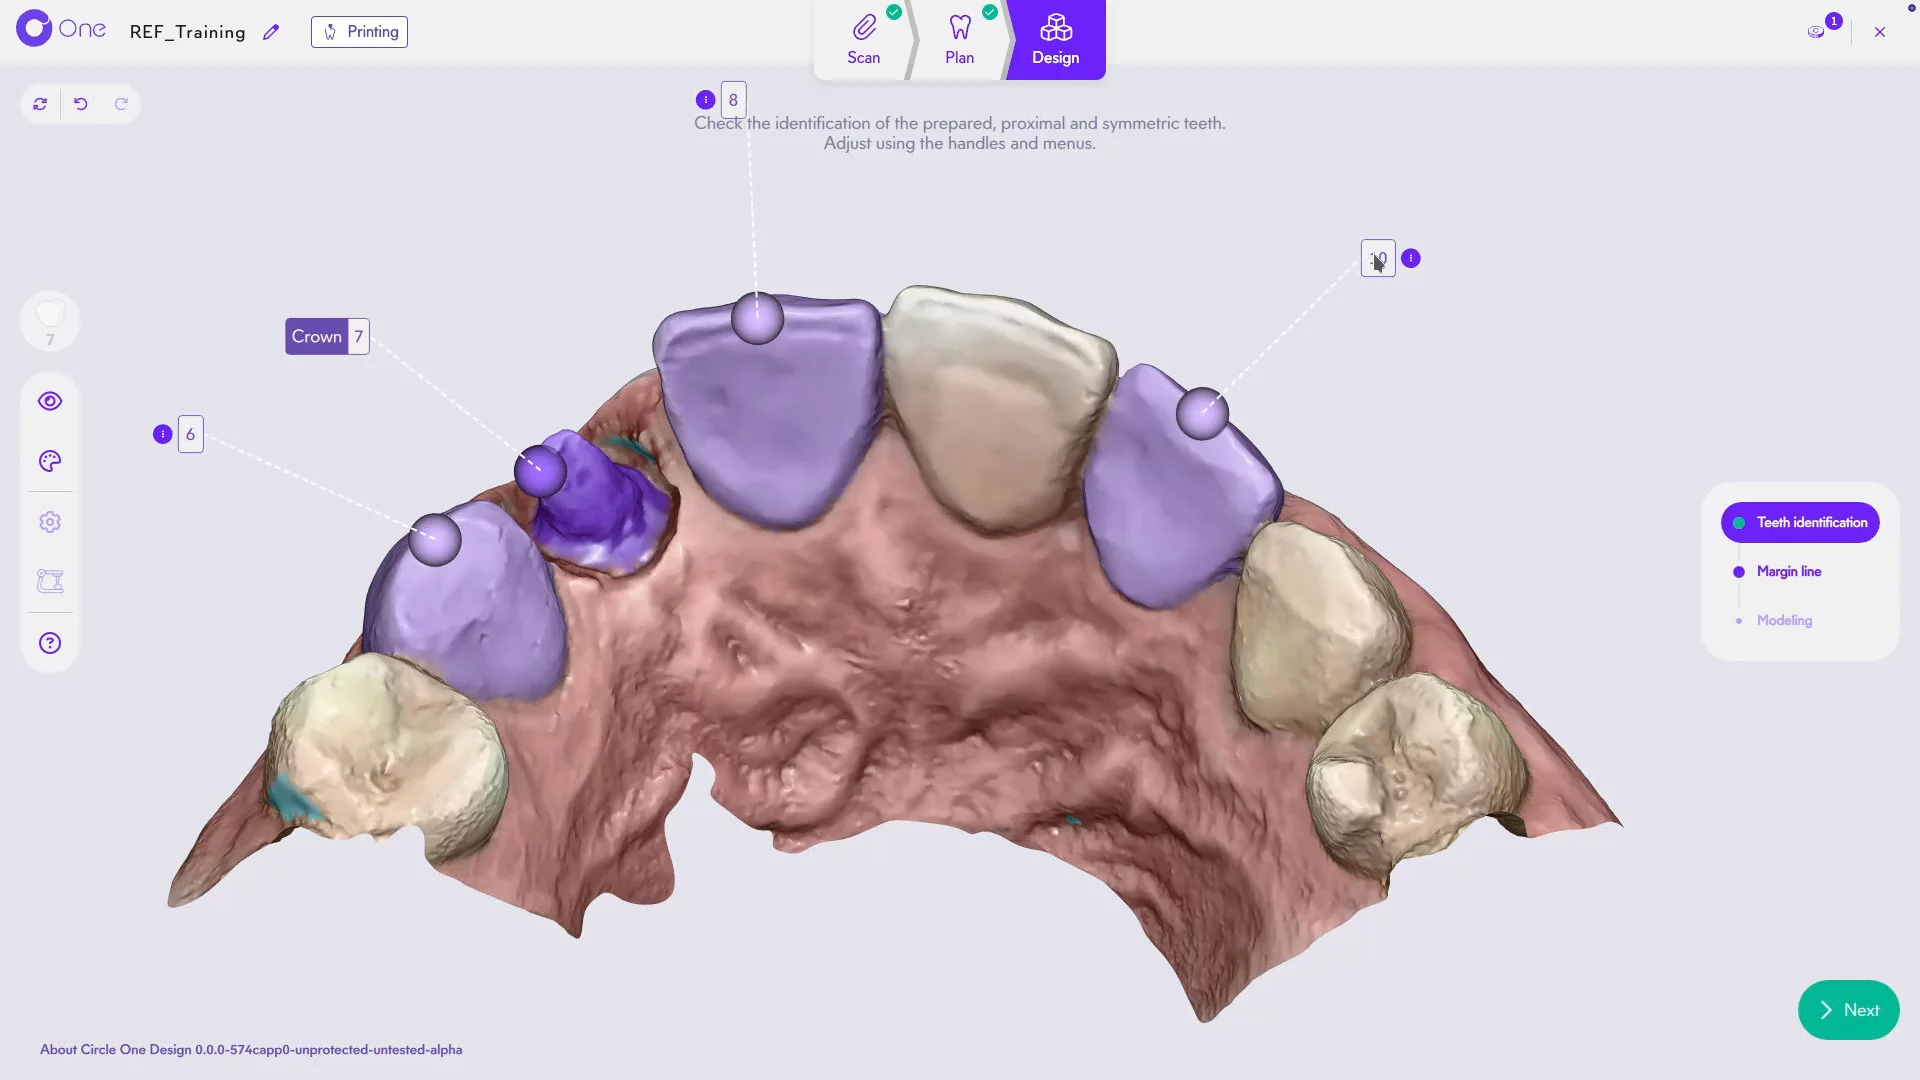
4. If something looks off, you can drag a handle directly on the 3D view.
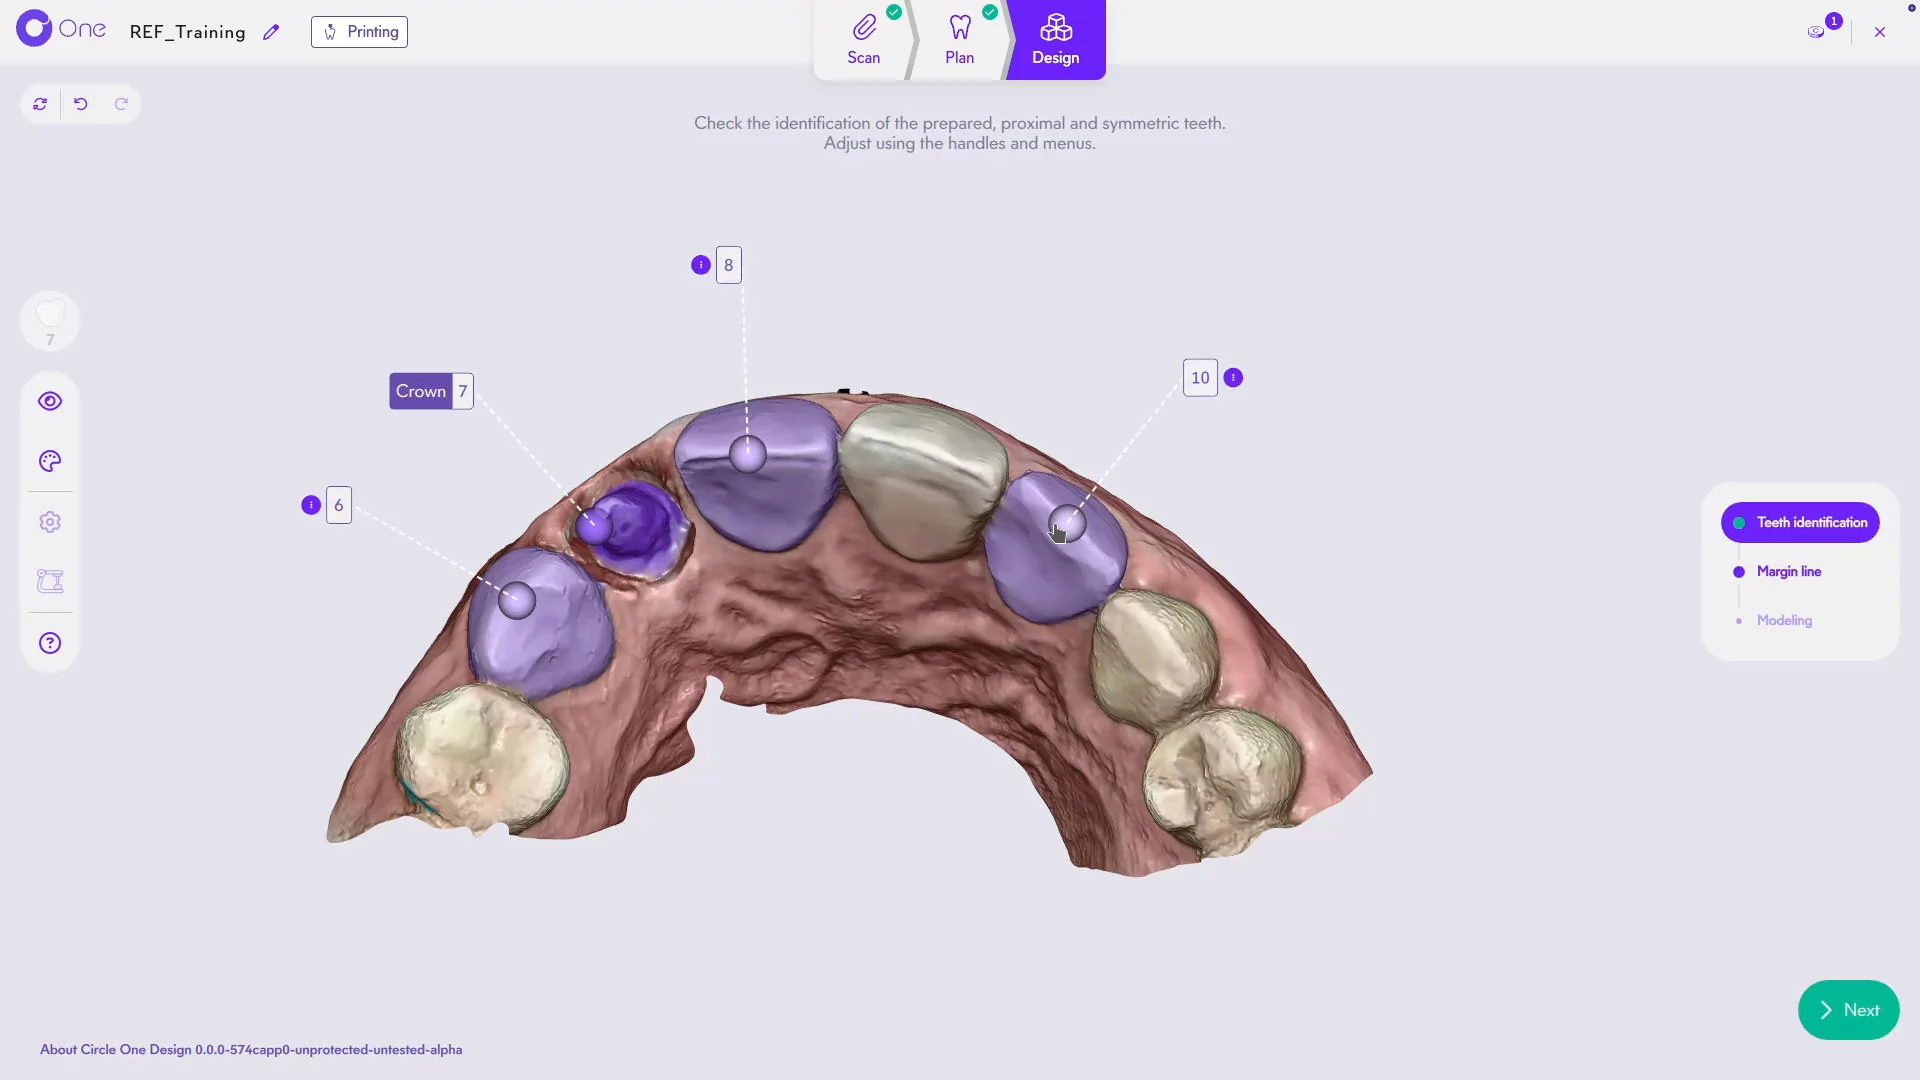
5. Or use the label menu to change the number or remove a tooth.
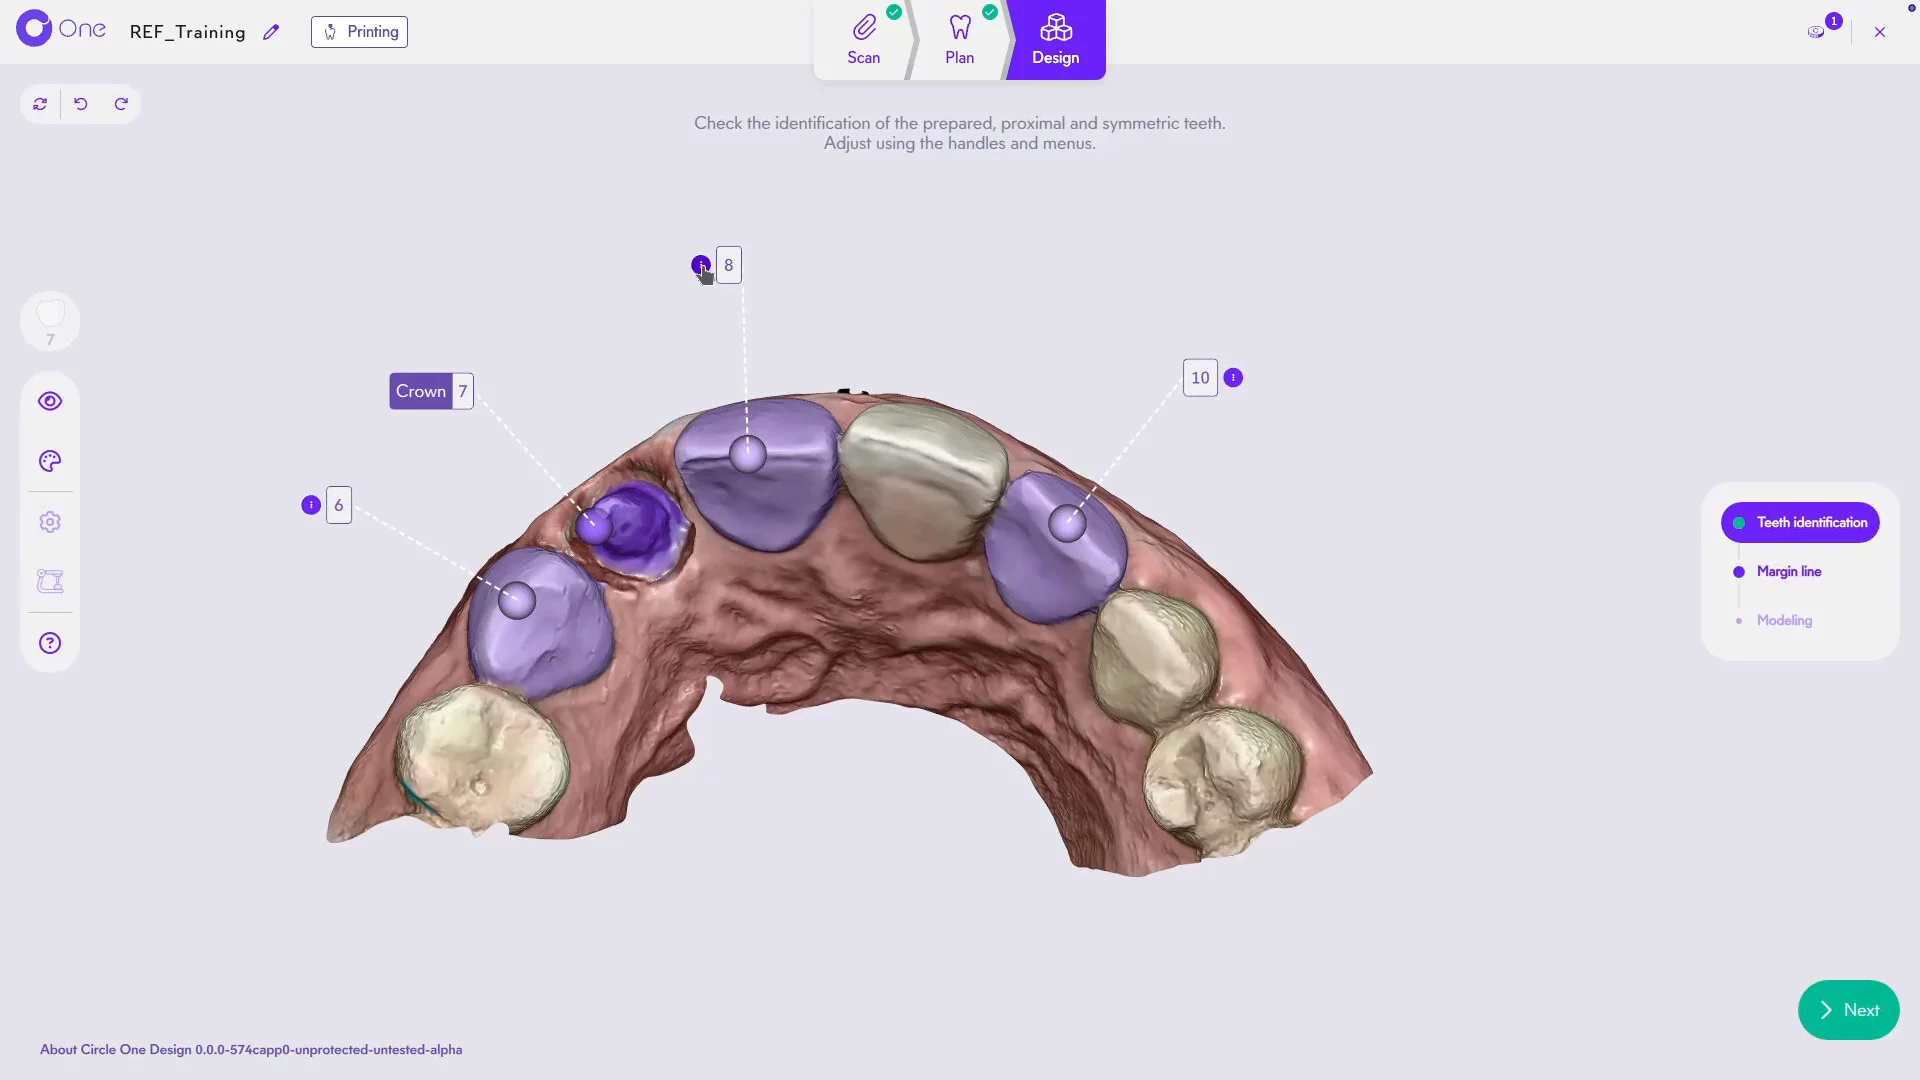
6. Two important points: if the opposing tooth isn't set here, you won't be able to copy it at the Modeling step.
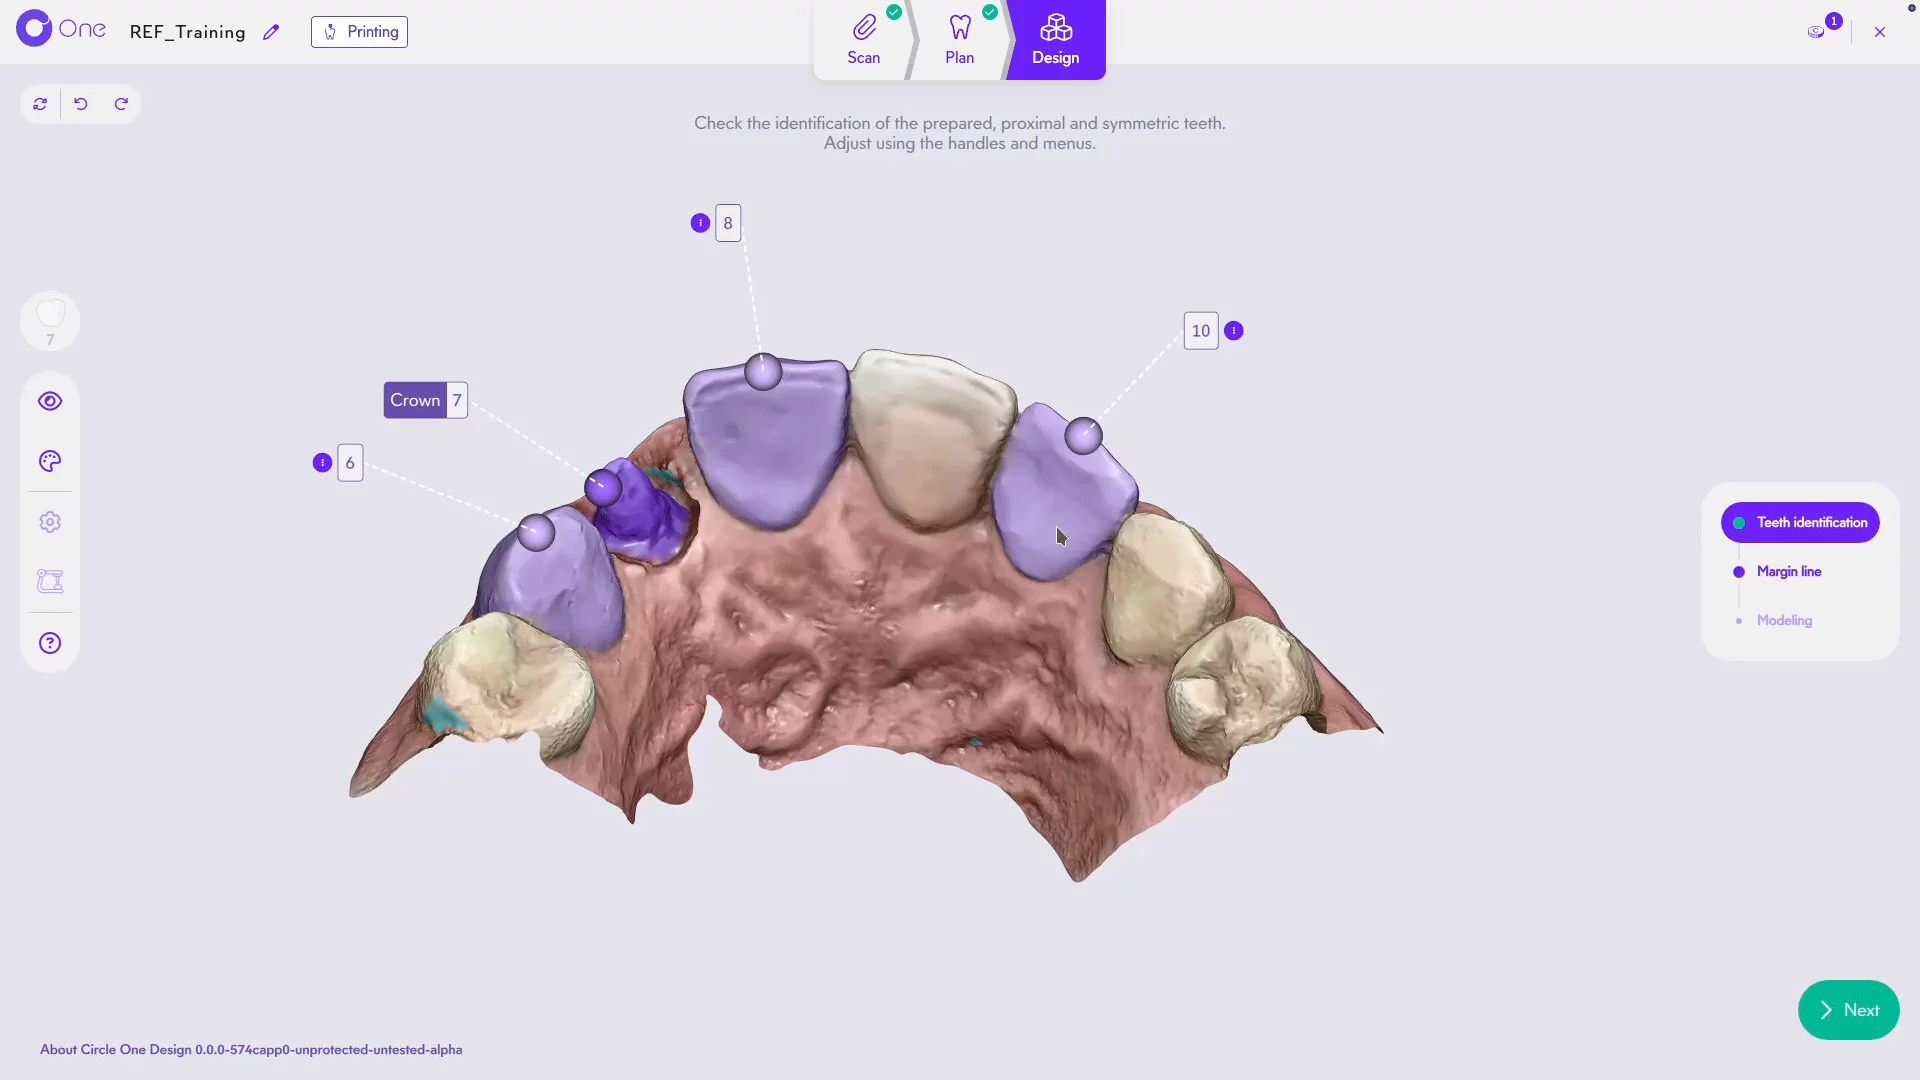
7. The proximal teeth, meanwhile, are essential to analyze and ensure insertion.