Refine a design

Smart Tools: Regional

Video
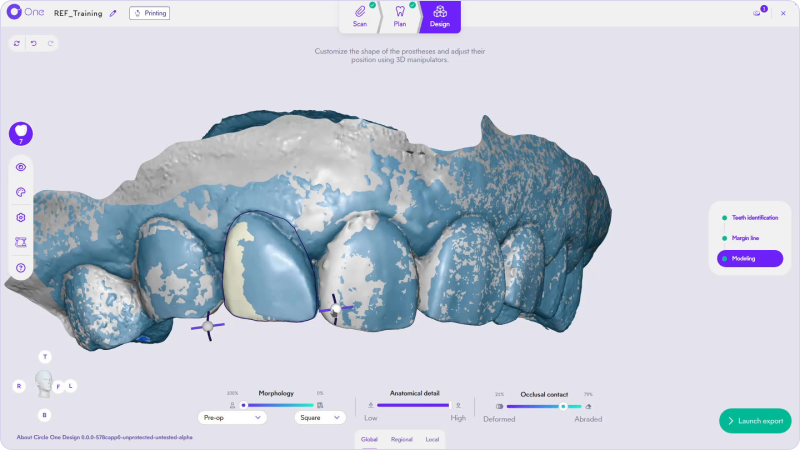
Discover the Regional Smart Tools, which let you adjust anatomical areas of the prosthesis: emergence profile and local deformations.
Design
Modeling

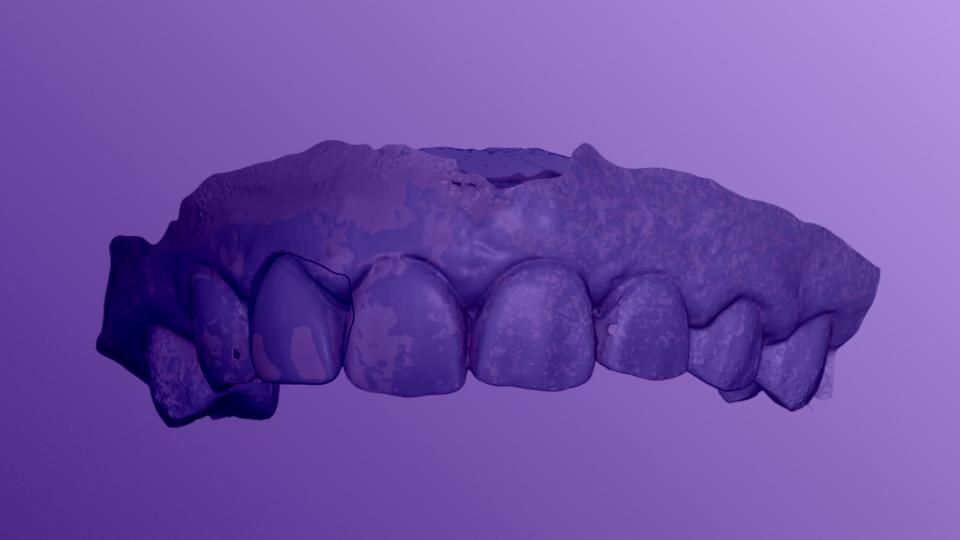
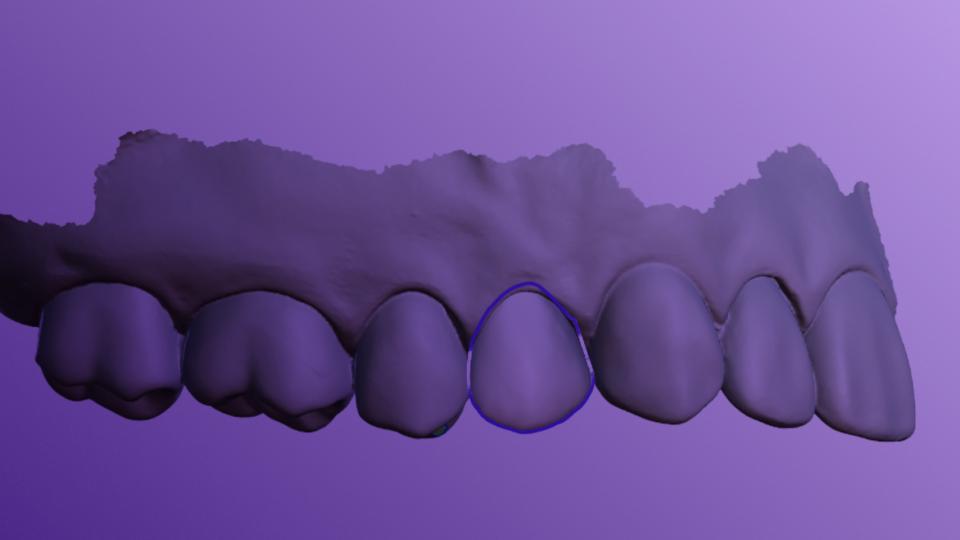
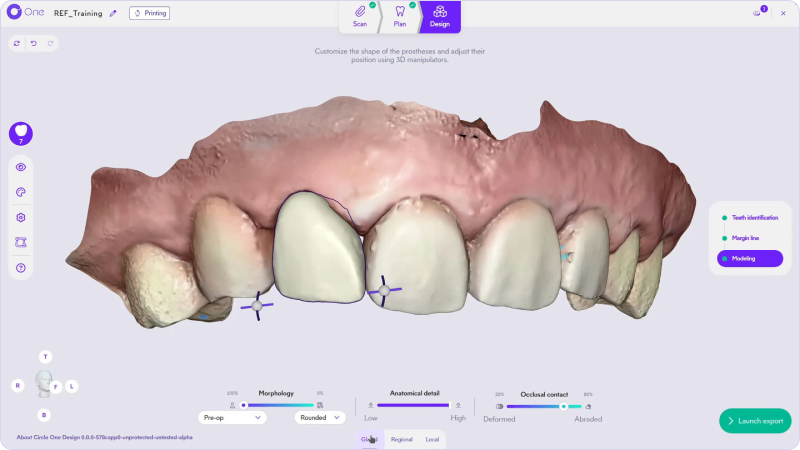
1. In this tutorial, discover the Regional Smart Tools, which let you adjust anatomical areas of the prosthesis.
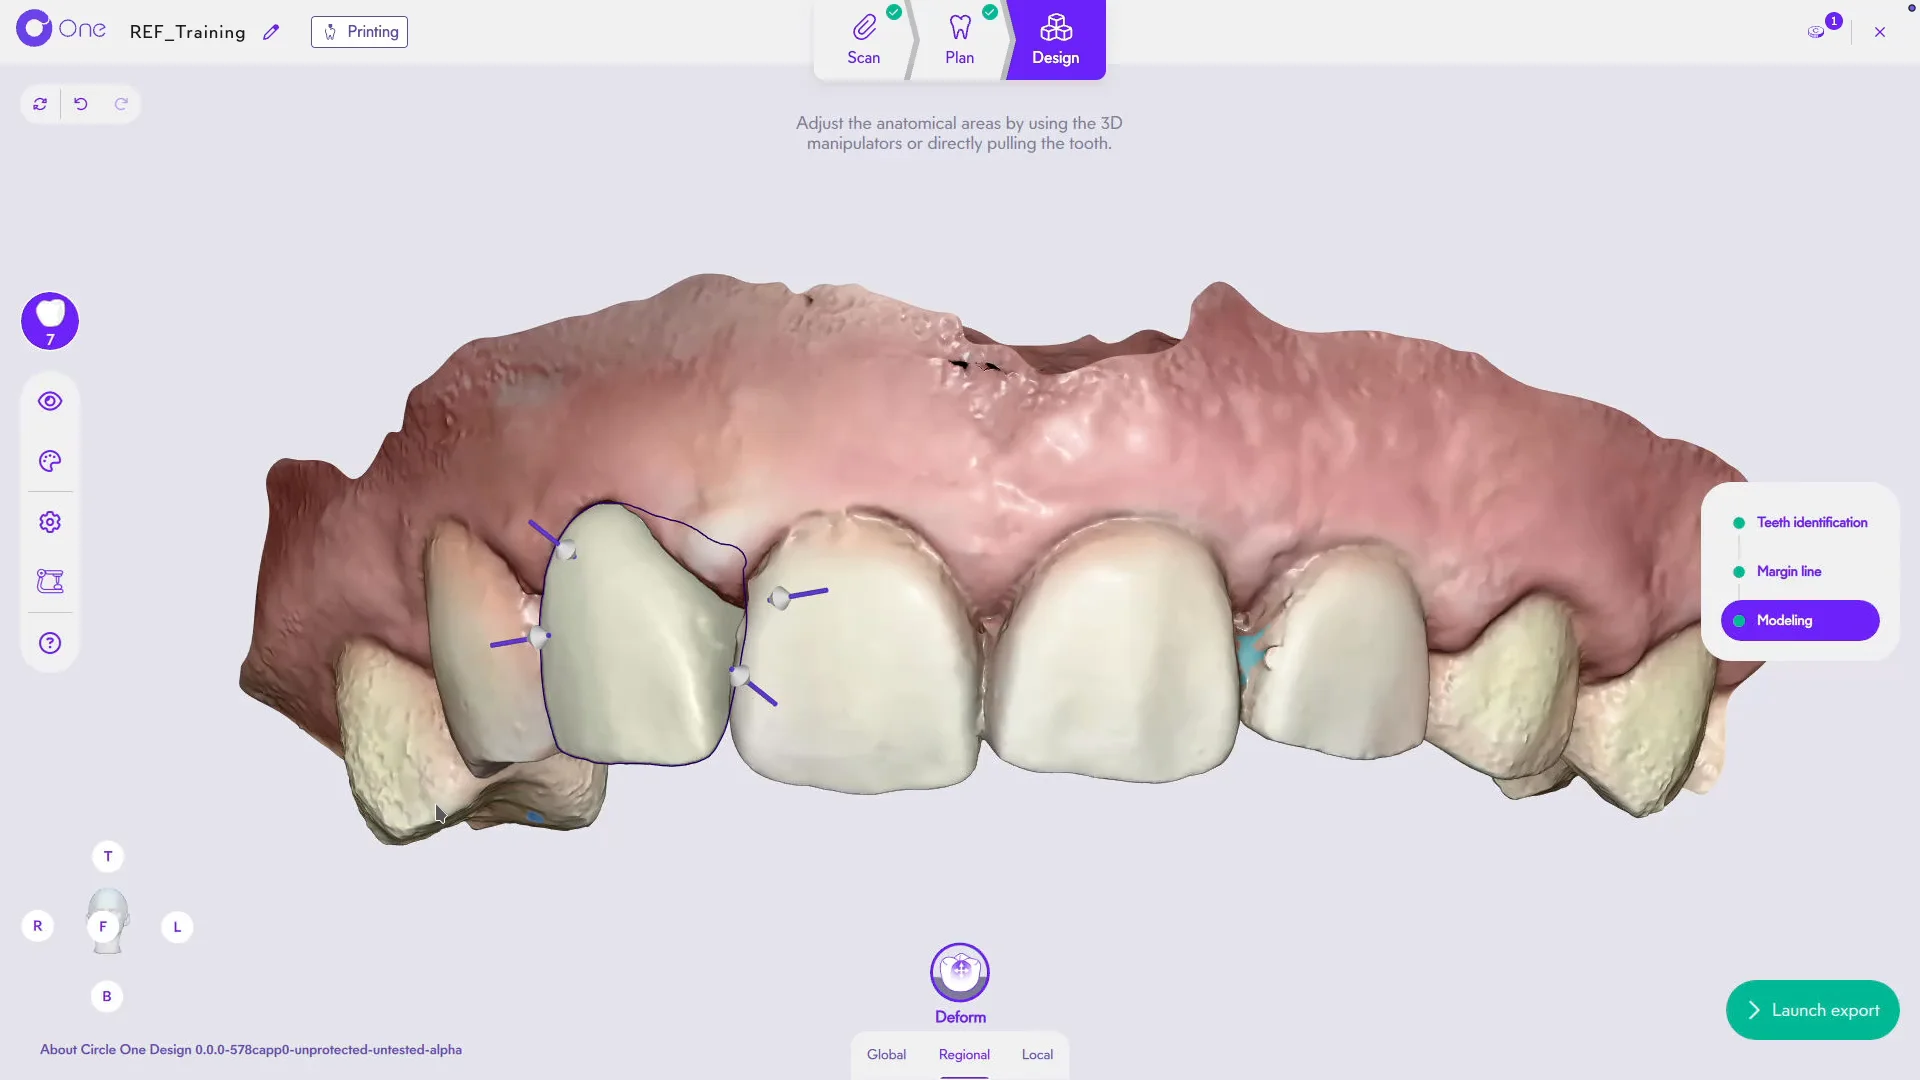
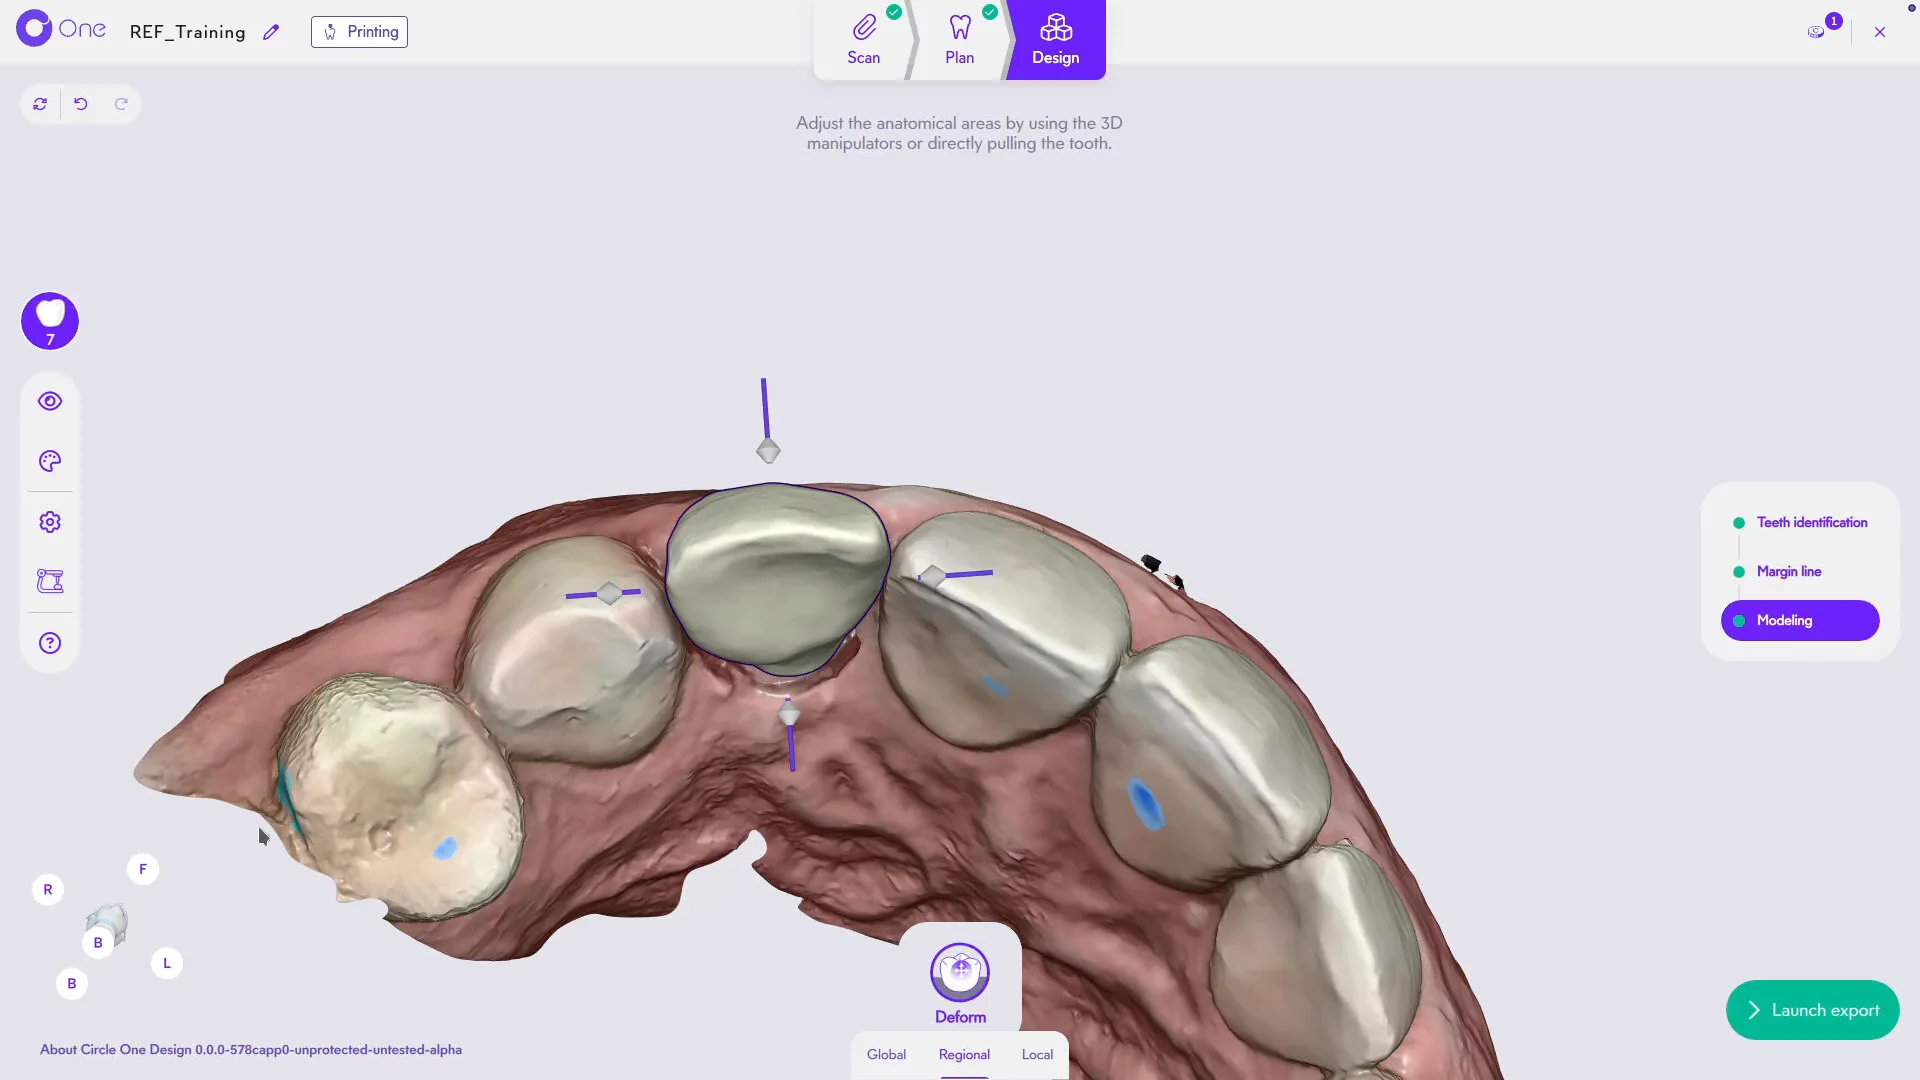
2. The manipulators let you adjust the emergence profile of the prosthesis. On hover, the impact zone turns purple.
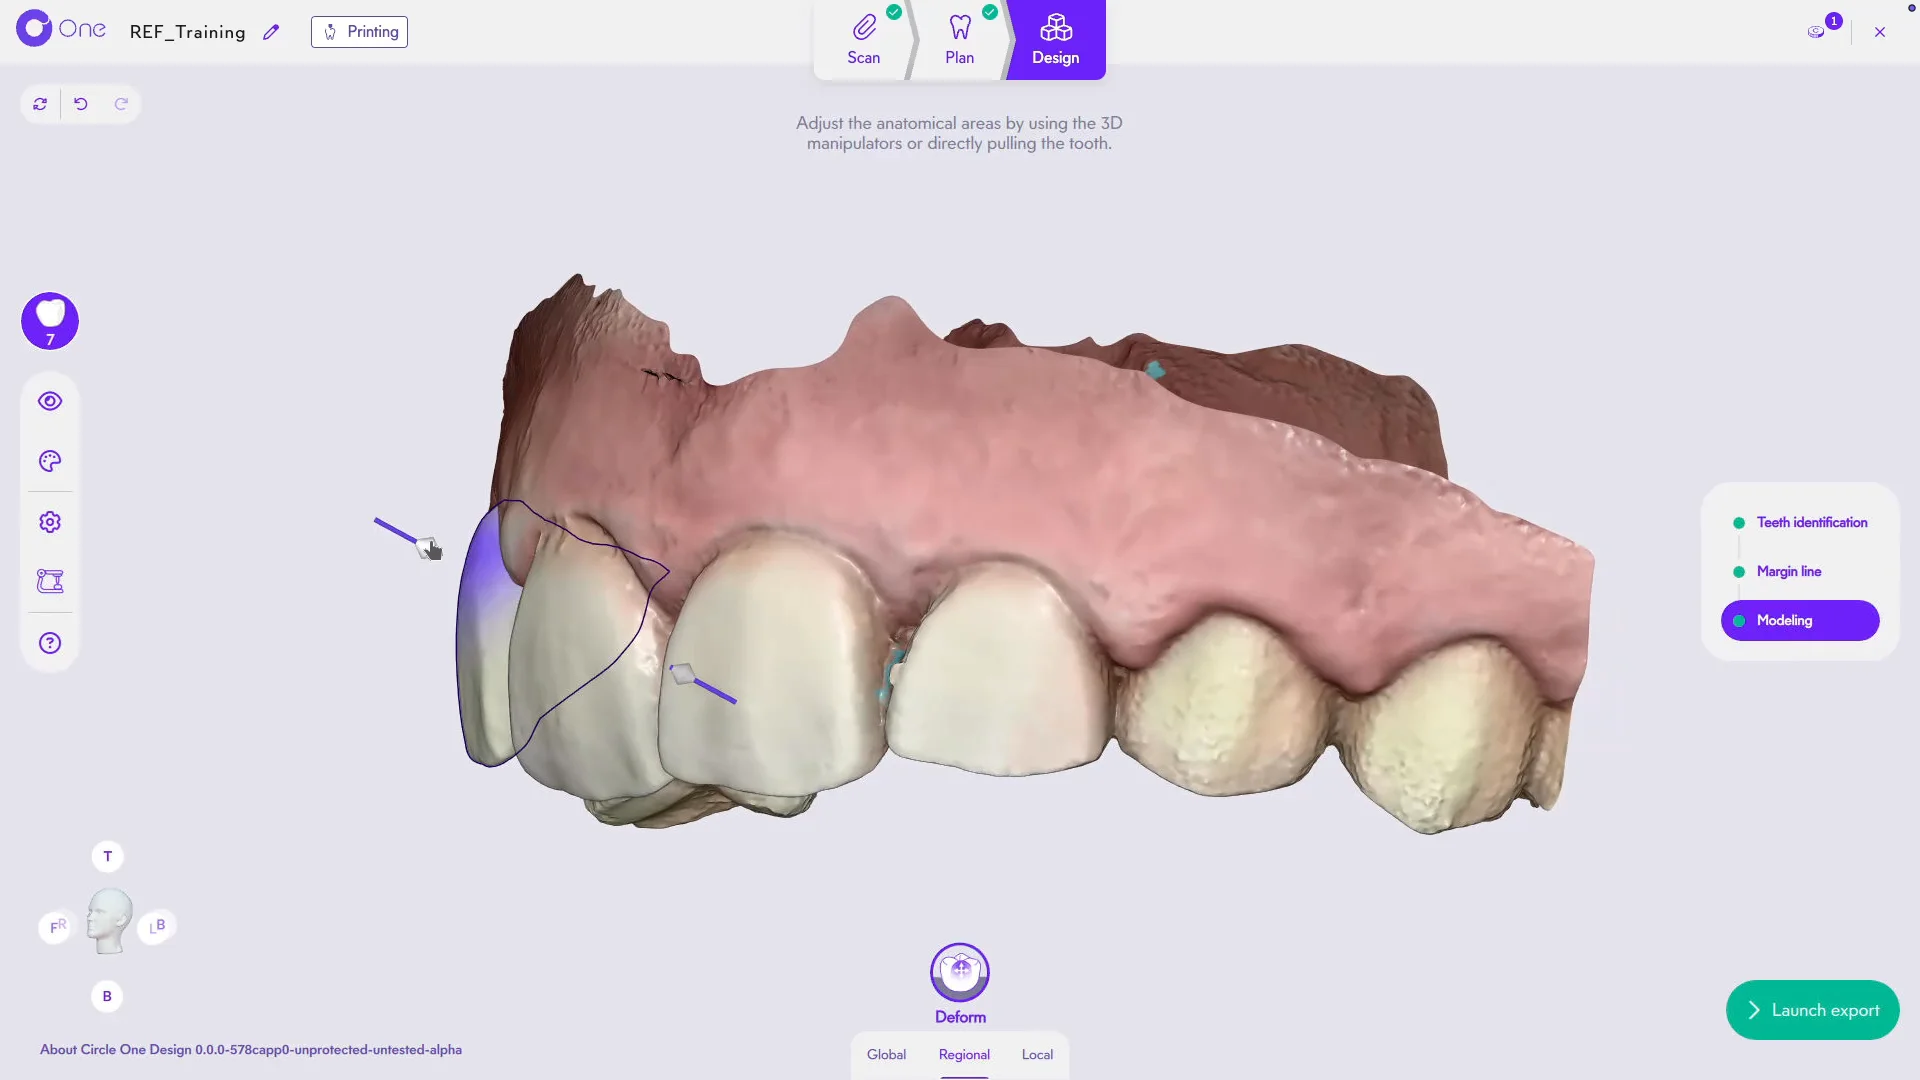
3. For a full crown, four manipulators are available: mesial, distal, buccal, and lingual/palatal. Move them to shape the cervical profile according to your clinical preferences.
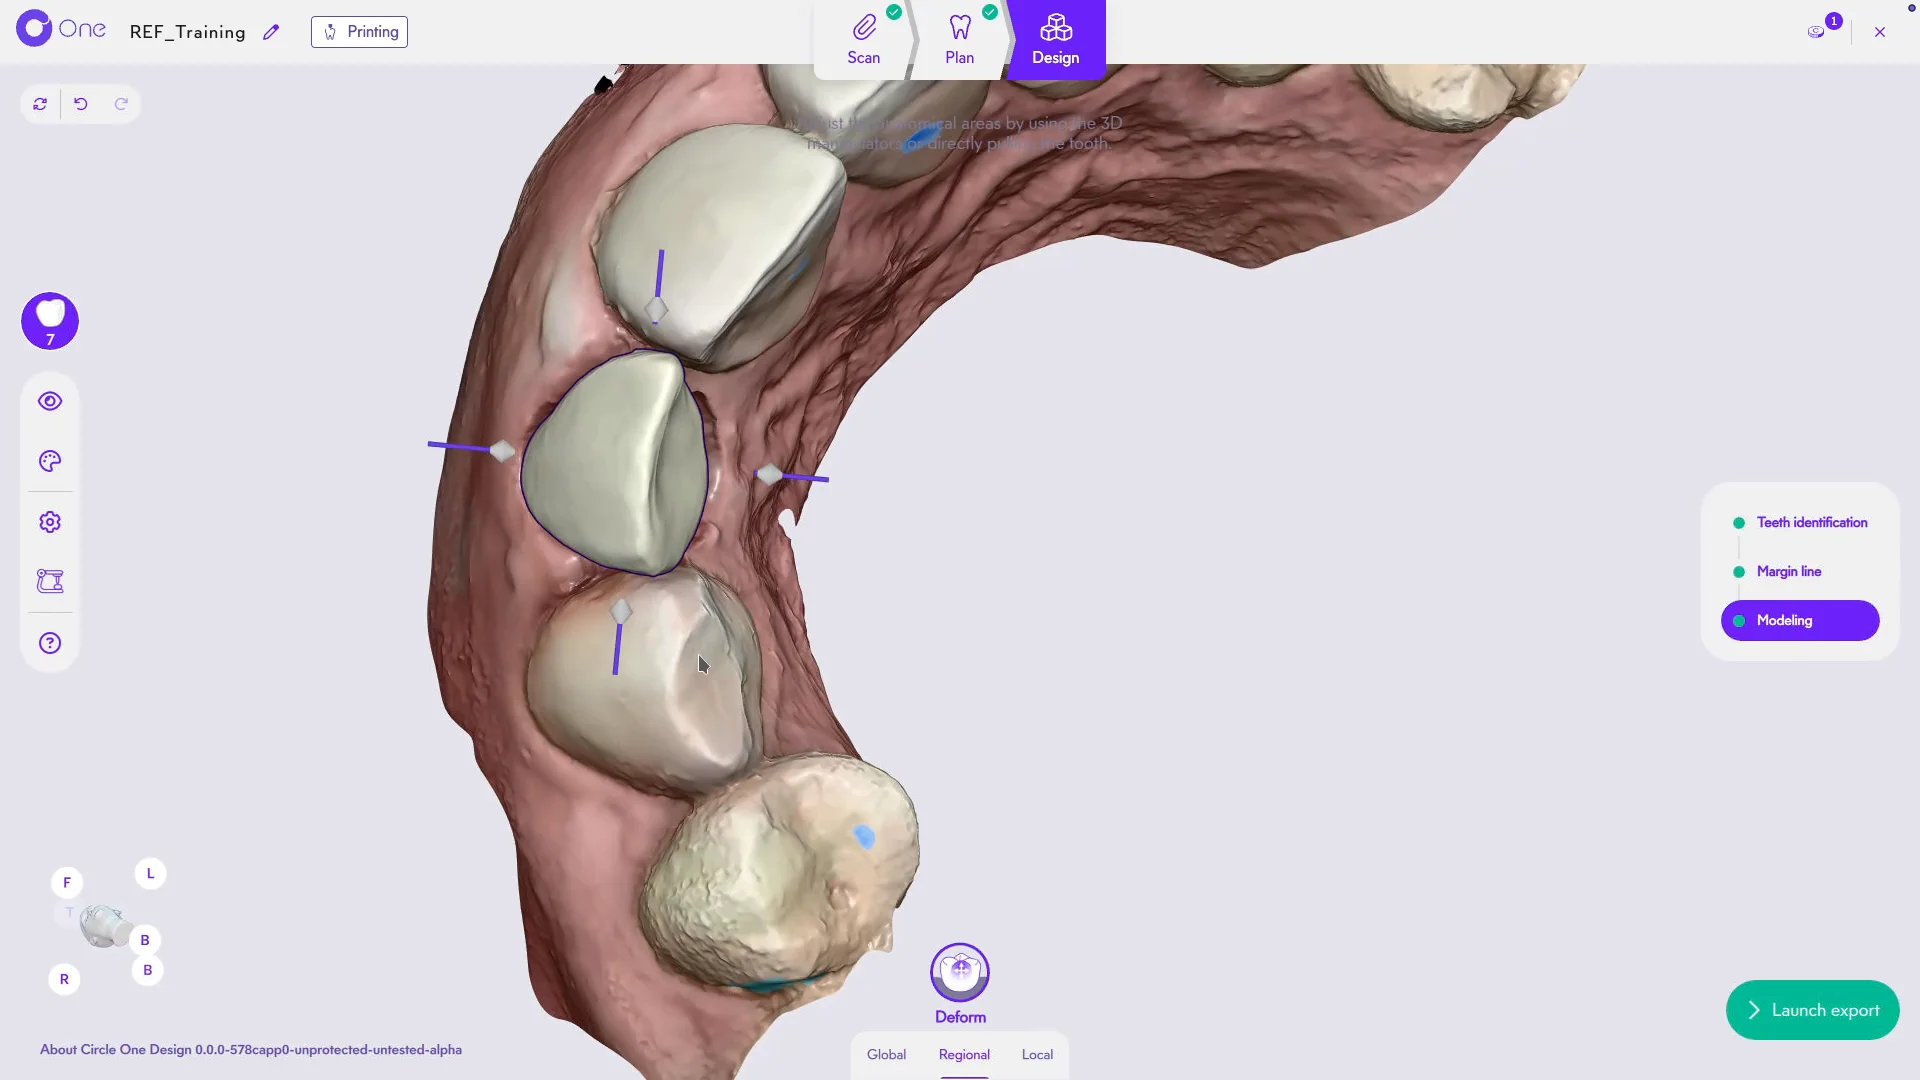
4. Change the viewing angle to access all the manipulators, and work the profile from every side.
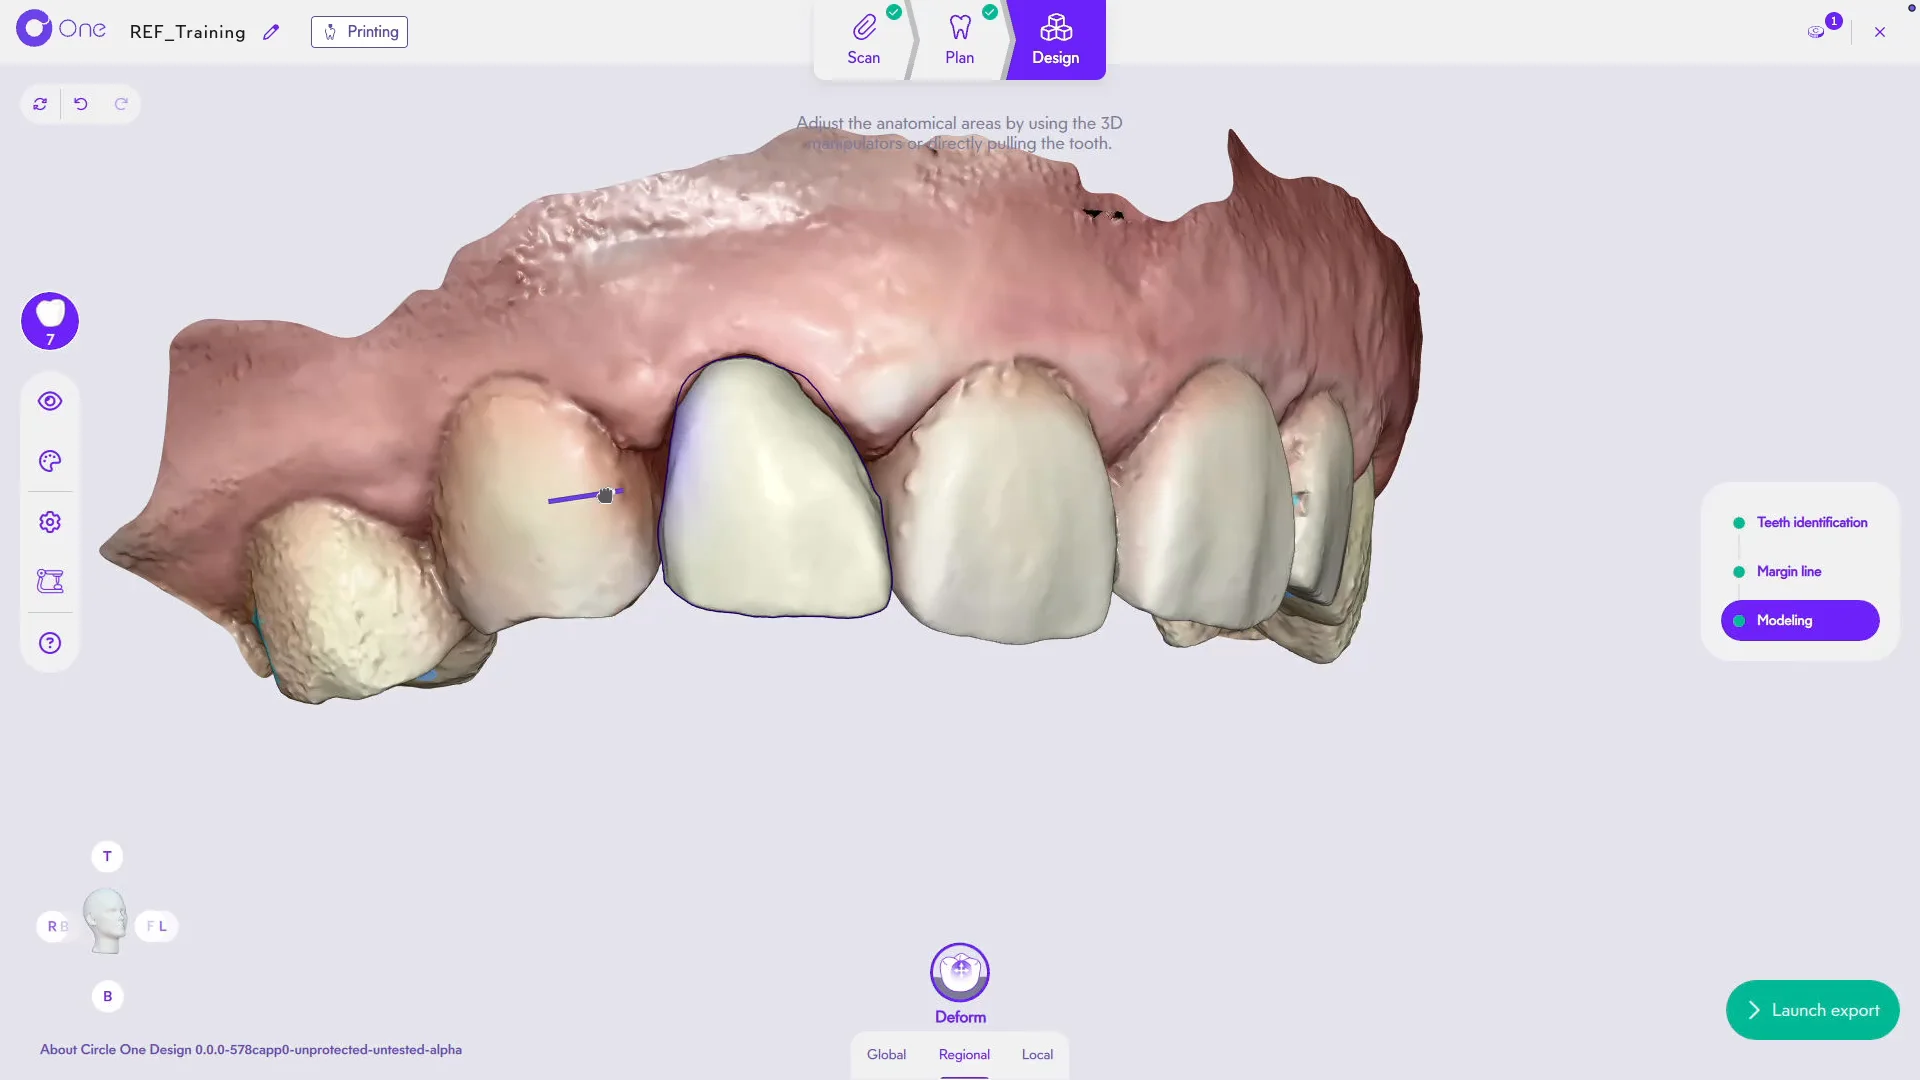
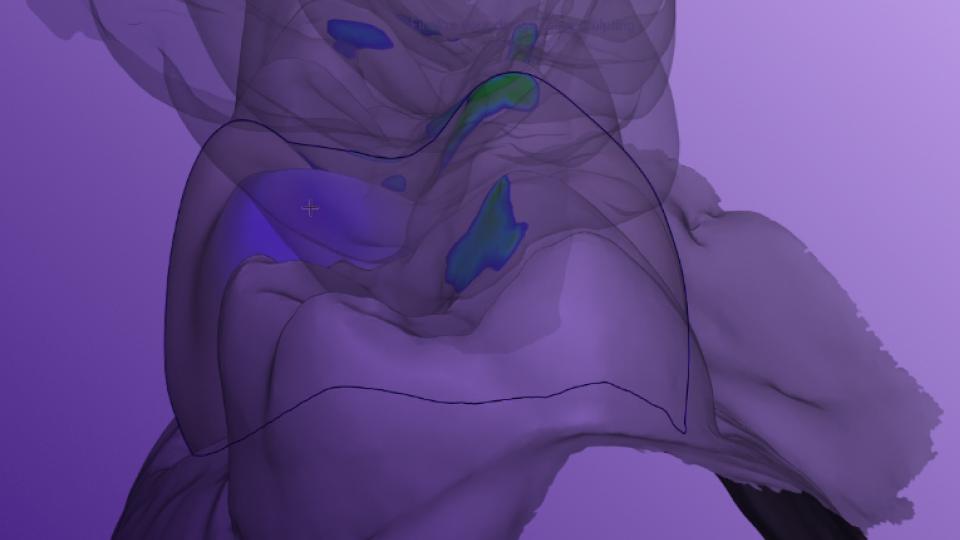
5. The Deform tool lets you move an area of the tooth directly — a cusp, for example — to reshape it precisely.
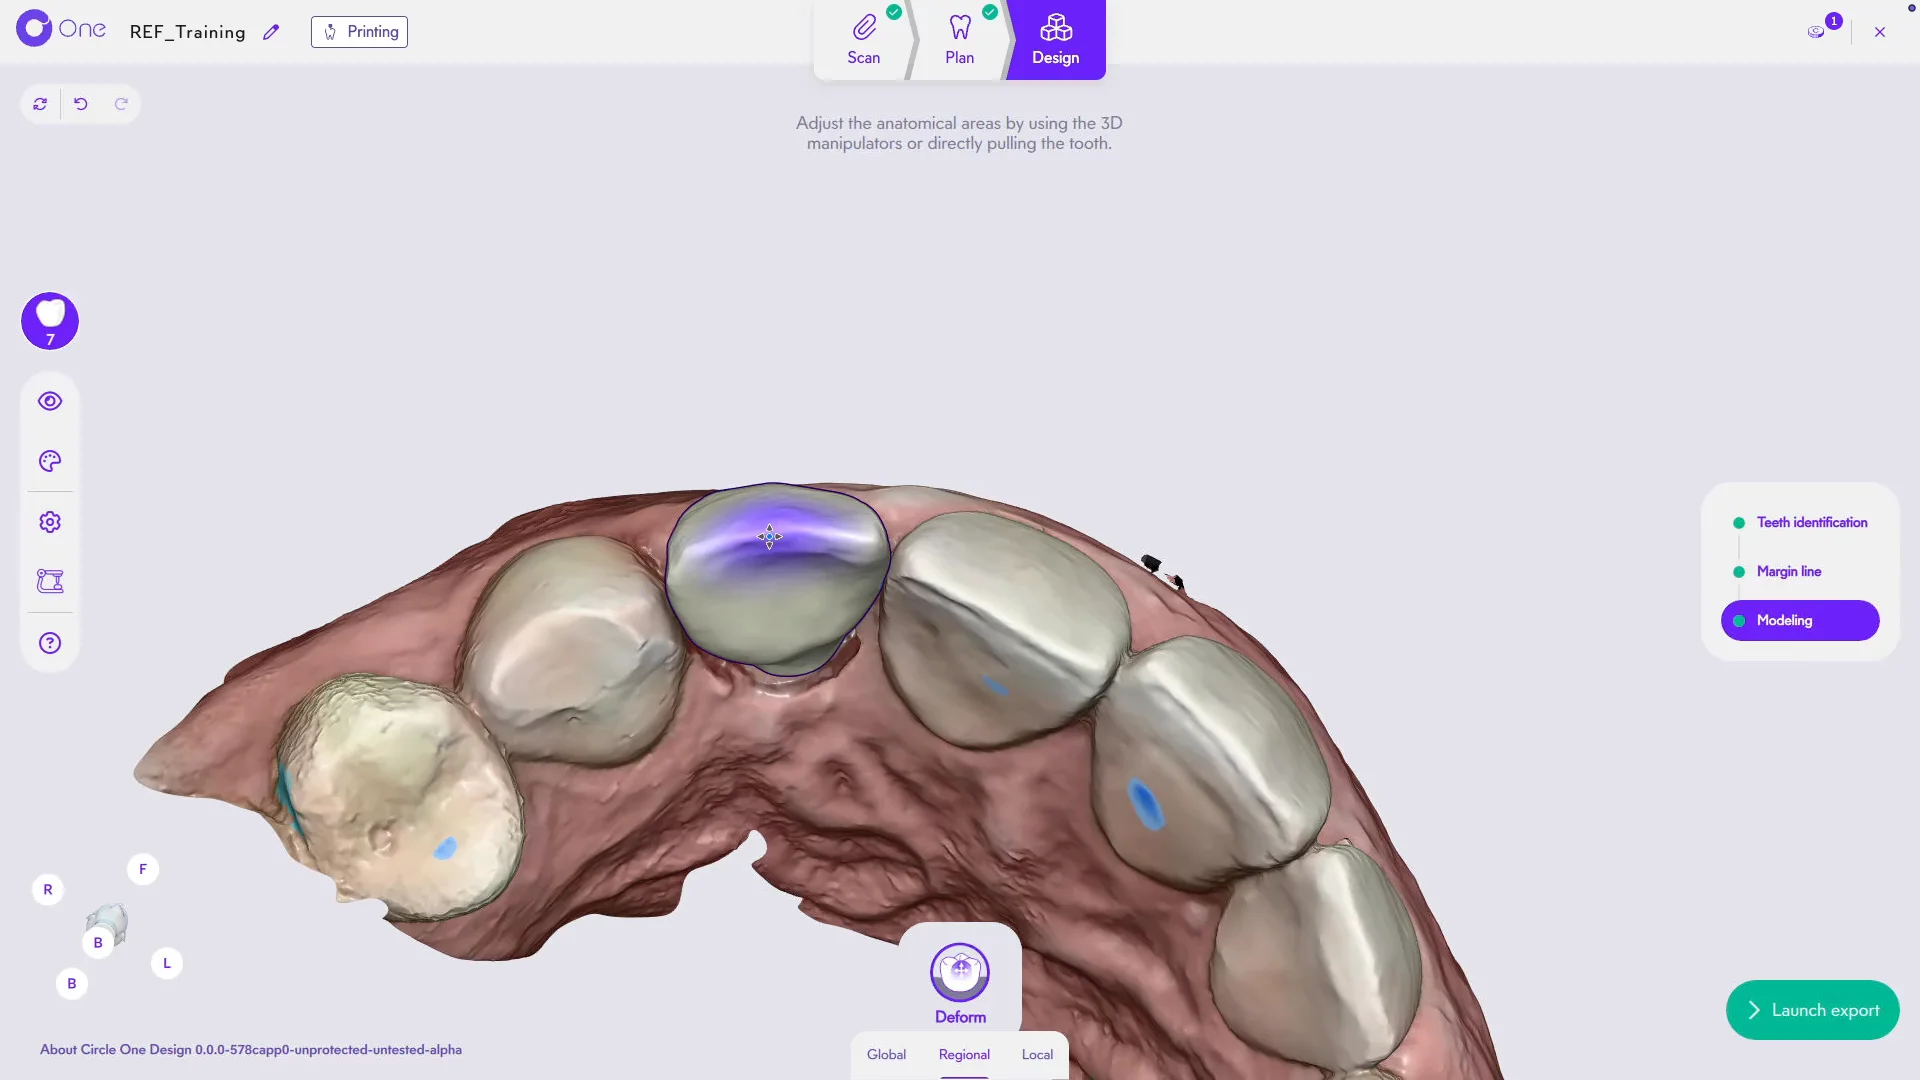
6. Every deformation stays smooth and controlled, in a protected environment that preserves your manufacturing and insertion constraints.
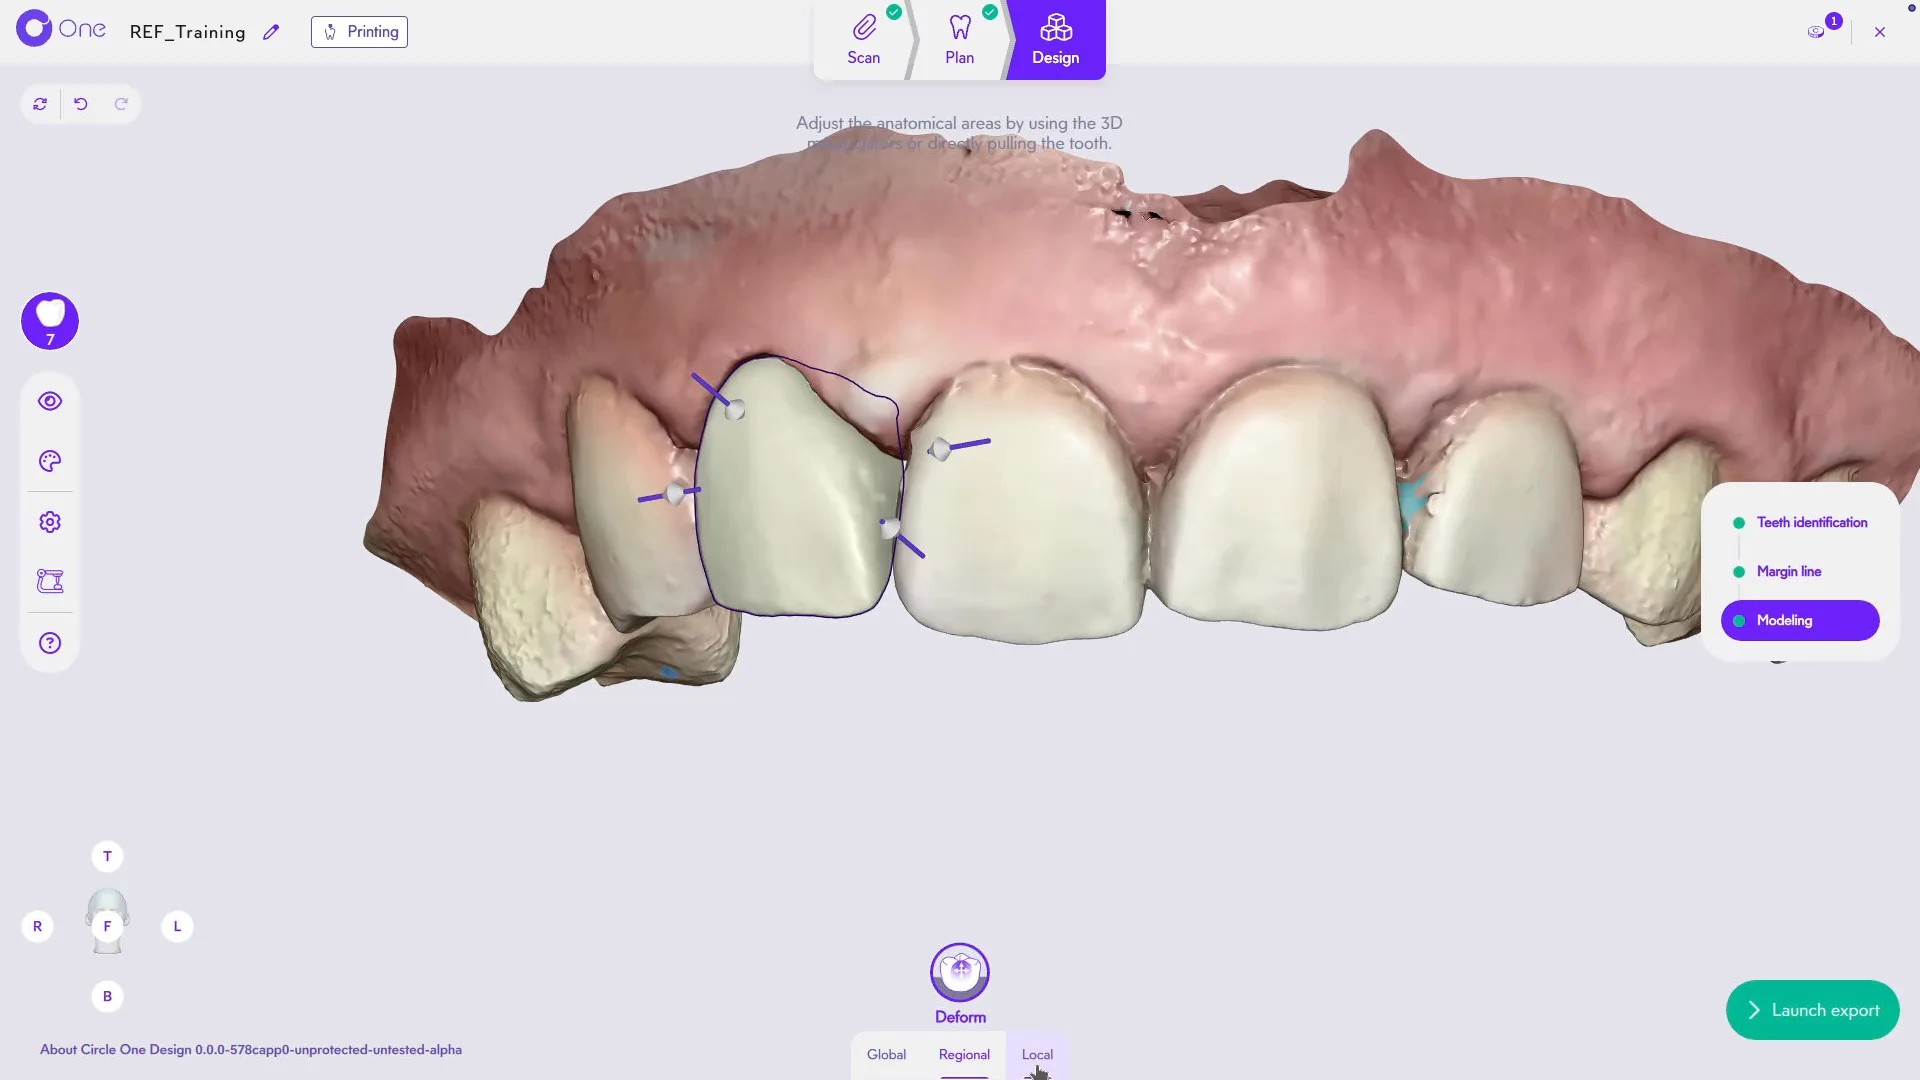
7. Continue in Local if needed, to fine-tune the prosthesis even further. Thank you for watching this Circle One tutorial.
‍

Heading 1

Heading 2

Heading 3 1

Heading 4

Heading 5
Heading 6

Lorem ipsum dolor sit amet, consectetur adipiscing elit, sed do eiusmod tempor incididunt ut labore et dolore magna aliqua. Ut enim ad minim veniam, quis nostrud exercitation ullamco laboris nisi ut aliquip ex ea commodo consequat. Duis aute irure dolor in reprehenderit in voluptate velit esse cillum dolore eu fugiat nulla pariatur.

Block quote

Ordered list

  1. Item 1
  2. Item 2
  3. Item 3

Unordered list

  • Item A
  • Item B
  • Item C

Text link

Bold text

Emphasis

Superscript

Subscript

‍

Légende
Related Articles
Video
Modeling
Adjust the shape, position, and details of your prosthesis with just a few simple actions.
Learn more

Frequently Asked Questions

How do I remove a scan defect that disrupts my modeling?
Modeling
+

If your scans contain defects that affect the modeling, you can ignore the affected scans entirely from the outer surface settings menu.

Please be aware that this choice may affect the fit and/or occlusion.

‍

For an artifact located on the margin line, there is not yet a mesh editing tool. Our teams are working on this feature, which will be available later.

Why is my articulator unavailable?
Modeling
+

The input scans contain interpenetrations that the software cannot handle.

Tip: provide a bite scan. Circle One then offers an alternative occlusion that lets you correct the scan interpenetrations caused by intraoral scanner errors.

Can I move several teeth at the same time?
Modeling
+

Not yet. It is not possible to select several prostheses to move them at the same time: each prosthesis is moved individually. Our teams are working on this feature, which will be available later.

Can I apply changes to several products at once?
Modeling
+

Not yet. It is not possible to select several products to apply the same change to them at the same time. Our teams are working on this feature, which will be available later.

Where can I find all the warnings for my case?
Modeling
+

The software warnings are displayed directly on the product selection buttons, on the left of the screen.

Errors must be resolved as you go. Warnings should be taken into consideration and assessed with your clinical expertise.

All warnings are repeated in the confirmation window, before the files are generated.

Are brushes necessary to get a good design?
Modeling
+

No, using the brushes is not always necessary with Circle One Design. We recommend using the Smart Tools (manipulators, sliders) instead, designed for simpler and more efficient modeling.

What is the difference between Global, Regional and Local?
Modeling
+

The Smart Tools are organized by the area they affect, from the broadest to the finest:

  • Global: the whole tooth (Morphology, Anatomical detail and Occlusal contact sliders, manipulators),
  • Regional: an area of the tooth, for example the emergence profile or a cusp (manipulators and Deform tool),
  • Local: a precise point of the tooth (finishing brushes).

We recommend using them in this order, from the overall view to the fine detail, for more efficient modeling.

Smart Tools: Global, Regional, Local
How do I change the height of my prosthesis?
Modeling
+

To change the height of your prosthesis, move a position manipulator with the right mouse button: the opposite manipulator moves at the same time.

This feature can also be used to widen the prosthesis overall or to close the embrasures simultaneously.

Position manipulators for height
Can I work in under-occlusion?
Modeling
+

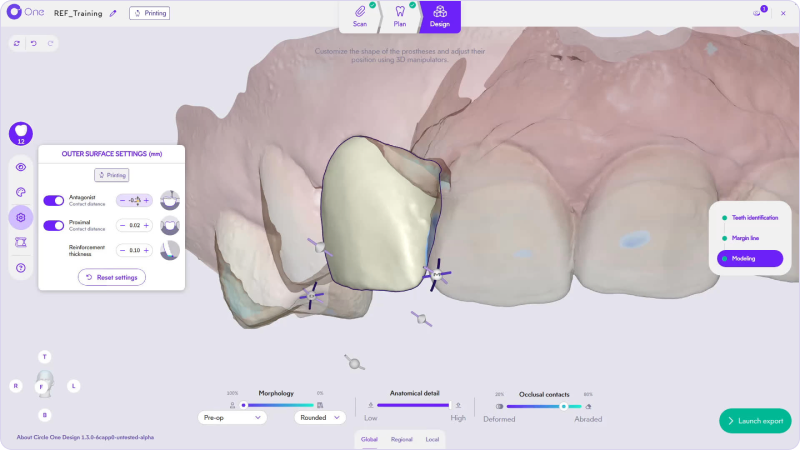
Yes. To work in under-occlusion, increase the occlusal contact distance in the outer surface settings. You can also set it in your user profile, or change it in the outer surface settings for a one-off need.

A positive distance eases the contacts or creates an under-occlusion; a negative distance tightens them. You can likewise tighten or relax the proximal contacts.

When working in under-occlusion, the contact coloring extends to match your needs.

To learn more: https://help.circle.one/articles/design-settings-inner-outer-surface

Outer surface settings: contact distances
Can I create a case with several products?
Modeling
+

Yes. Since version 1.3, Circle One Design lets you model several prostheses in the same case, wherever they are located. One Circle Credit is counted for each prosthetic tooth.

To switch from one product to another, select the prosthesis directly in the 3D view or from the menu on the left.

The processing time of the proposal depends on the number of prostheses: please be patient if your case includes many prostheses.

Multi-product case: switching product
Can I design several neighboring or antagonist prosthetic teeth?
Modeling
+

Yes. You can model a case with several prostheses, wherever they are located.

Please note: the processing time of the proposal depends on the number of prostheses in the case (the more prostheses, the longer the loading).

A few limitations:

  • dynamic abrasion between antagonist prostheses is not yet available,
  • local thickness reduction in case of material conflicts is not available when the conflict occurs between two prostheses.
Does Circle One Design have a virtual articulator? Can I manage dynamic occlusion?
Modeling
+

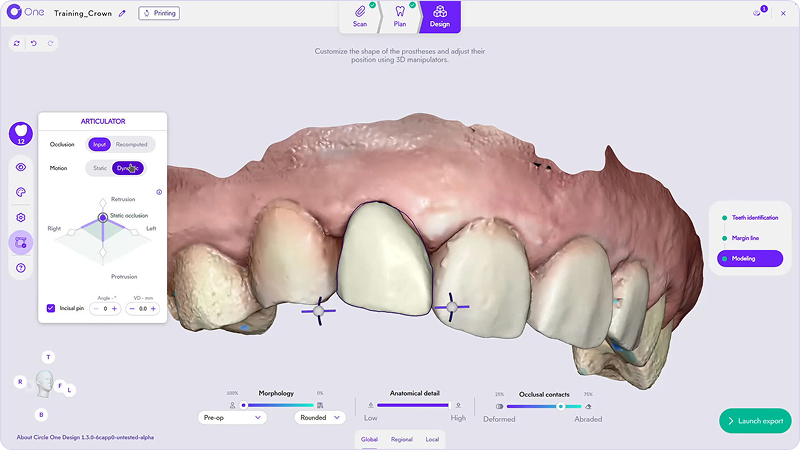
Yes. Circle One Design includes a virtual articulator, available in the Modeling step.

To activate it, click the Articulator icon in the sidebar and select the Dynamic occlusion. Your prostheses are then adapted to take the dynamics into account. You can:

  • adjust the range of motion by moving the end manipulators (diamonds),
  • explore positions with the position manipulator (circle),
  • change the incisal table angle,
  • adjust the vertical dimension,
  • use the modeling tools in a position other than static occlusion.

    ‍
Can I copy a tooth from a pre-scan (pre-operative scan), a proximal tooth or an opposing tooth?
Modeling
+

Yes. When a pre-operative scan is available, you can choose what the automatic proposal is based on:

  • a copy of the shape and position of the tooth from the pre-operative scan,
  • a prediction of the shape and position based on the proximal teeth and a reference library.

This choice is not final: you can always change the shape and position of the tooth afterwards.

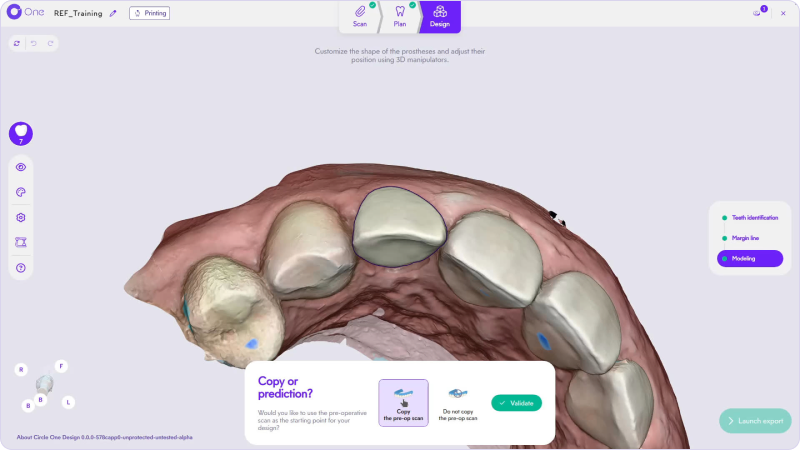
Automatic proposal: copy from the pre-op scan
Why does a tooth label turn red in the Teeth Identification step?
Modeling
+

A red label indicates that the prepared tooth is not correctly identified.

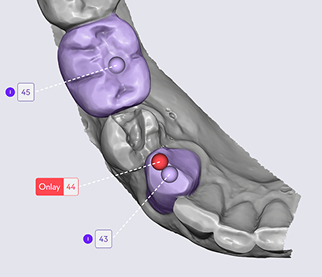
You need to move the appropriate handle to correct its identification.

‍

How do I read the contact colormap?
Modeling
+

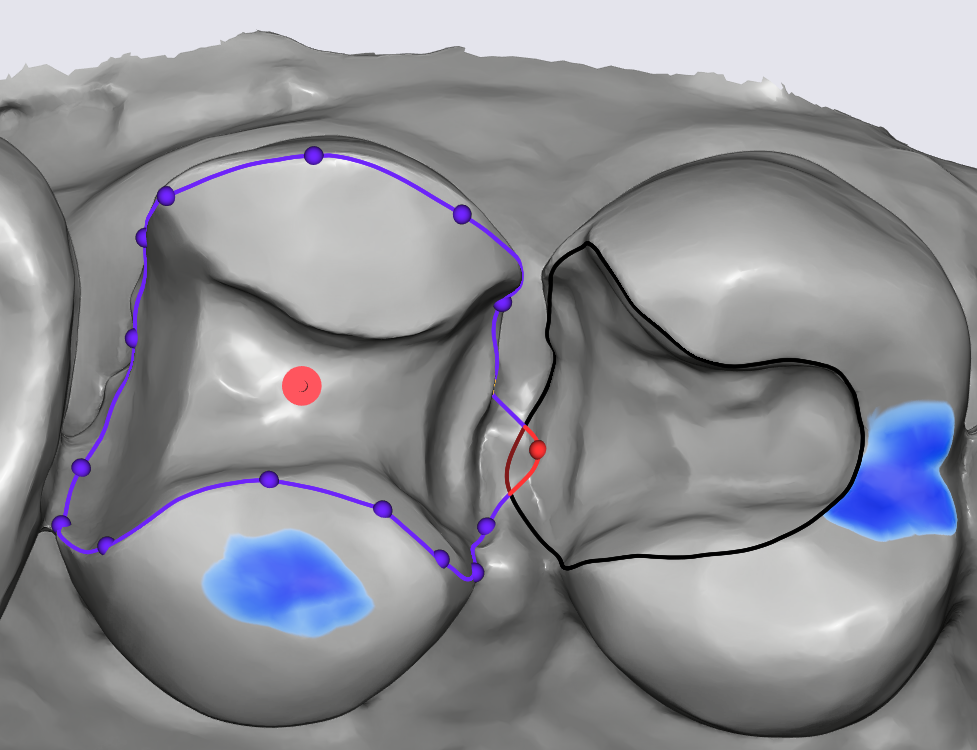
The colormap is inspired by articulating paper: the darker the color, the stronger the contact.

  • Light blue: light contact
  • Electric blue: standard contact
  • Dark blue: strong contact
  • Red: interpenetration

It shows the contacts for the current occlusion position. If you move the arch in the articulator, the colormap reflects the contacts in the new position; contacts at static occlusion are shown in dark green.

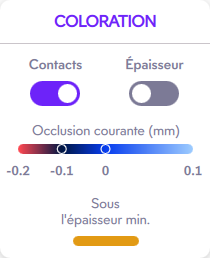
You can show or hide the contacts (and the minimum thickness areas) from the Colormap menu.

‍

Why is my margin line red? Why can't I go to Modeling from the Margin Line & Insertion Axis step?
Modeling
+

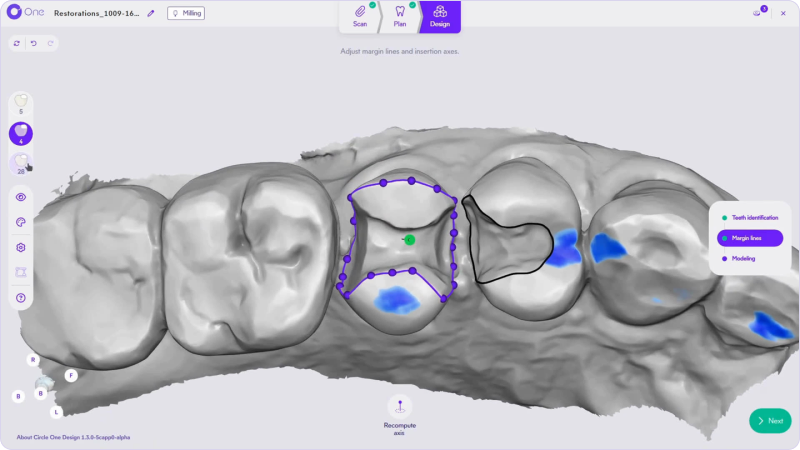
You cannot leave the Margin Line & Insertion Axis step to go to Modeling if the margin line does not allow a prosthesis to be created. The margin line then turns red in any of these cases:

  • the margin line intersects itself,
  • the margin line intersects a neighboring margin line (multi-product case),
  • the area enclosed by the margin line is too small.

To fix it, adjust the margin line: add a point with a left-click, remove one with a right-click, or drag the points to refine the outline.

‍

‍

Why am I getting a “reinforcement conflict” alert?
Modeling
+

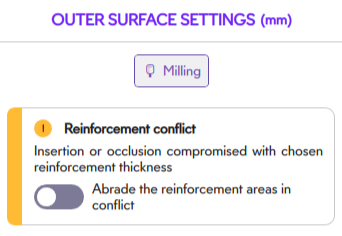
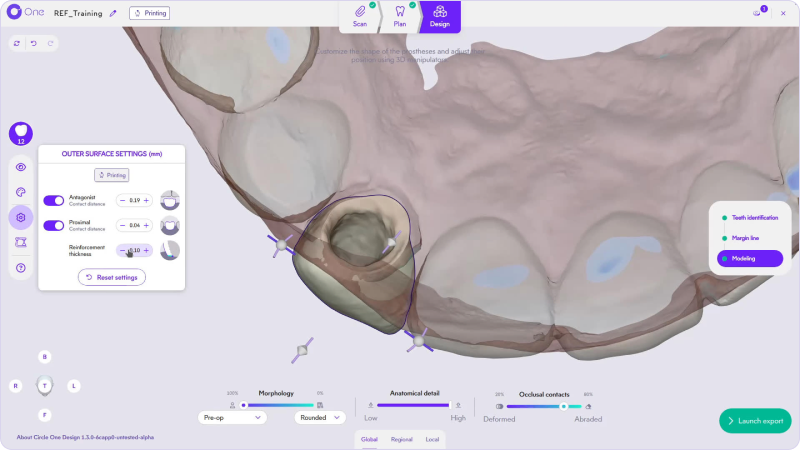
The reinforcement conflict warning appears when the software cannot apply the reinforcement size set in the outer surface settings without the reinforcement colliding with the neighboring teeth or the antagonist.

The detailed warning is shown in the Settings menu, where you can adjust the reinforcement size if needed.

‍

Outer surface settings: reinforcement size
Why am I getting an alert about a conflict between minimum thickness and contacts?
Modeling
+

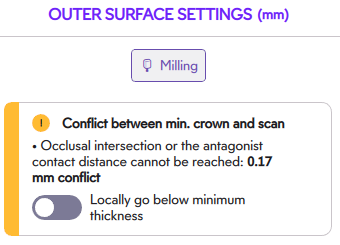
This alert appears when Circle One Design cannot meet both of the following at the same time:

  • the minimum thickness of the crown, set in the inner surface settings,
  • the contact distances, set in the outer surface settings.

In case of a conflict, the material thickness is always preserved: you will need to touch up the prosthesis to adapt the insertion and the occlusion.

The alert details are shown in the inner surface settings (gear icon).

‍

‍

‍

Outer surface settings: contact distances
Is my design saved?
Design
+

Not yet. Your design is not saved at this time.

My case is stuck while loading the Design stage.
Design
+

If your case is stuck while loading the Design stage (for example, the loader is stuck at 40%), please check your network connection. If the problem persists, please restart your case from the beginning.

Can I undo actions during the Design step?
Modeling
+

Yes. You can use the undo/redo buttons available in the interface at any time.

Can I add a border reinforcement?
Modeling
+

Yes. In the Manufacturing Settings, you can set the thickness of the border reinforcement to make it compatible with your milling tool.

‍

Can I adjust the contact points while modeling?
Modeling
+

Yes. In the Design step, you can adjust antagonist contacts in real time by smoothing or deforming them using the “Antagonist Contacts” slider.
The contacts are displayed in color through the Colormap panel, helping you fine-tune the occlusion of your prosthesis.

‍

Is the minimum thickness checked? Can I adjust it?
Modeling
+

Yes. The minimum thickness for the selected material is maintained throughout design. Circle One alerts you if the prosthesis is not insertable at the chosen minimum thickness, and offers three options: auto-adjust, manual correction, or continue without correction.

You can adjust the minimum thickness in the Manufacturing Settings or in “My Design Preferences.” Thin areas are visualized in the Colormap panel.

Why does my session end if I stay inactive during the Design step?
Design
+

If no activity is detected for a few minutes, the case automatically closes. This helps manage server load and keep Circle Credit costs optimized.

Can I go back during the Design step?
Design
+

Yes. You can use the undo/redo buttons available in the interface at any time.

Can I reopen and edit an existing design?
Design
+

Not yet. Your design cannot be saved at No, a validated design can't be reopened or edited. To start over from an existing case, use the dot menu on the case card and select "Create a new case from patient files": a new case is created with the same scans, letting you restart the design from scratch.

Can I modify the proposal? Is it safe to do so? How?
Design
+

Yes. You can freely adjust the automatic proposal using the available tools.
Thanks to our Collaborative AI, Circle One updates the model in real time and maintains key parameters such as: distance to adjacent and opposing teeth, insertion axis, minimum thickness, functional balance.

Every adjustment is simulated instantly, helping you keep a stable and reliable design as you refine it.

‍

How is the automatic proposal calculated?
Design
+

The automatic proposal is generated by analyzing your scans and taking several key parameters into account, including tooth anatomy, occlusion, proximal contacts, minimum thickness requirements, and manufacturing constraints.

Our Collaborative AI maintains occlusal contacts, insertion axis, and functional balance in real time, helping you obtain a design that is both functional and easy to manufacture.

‍